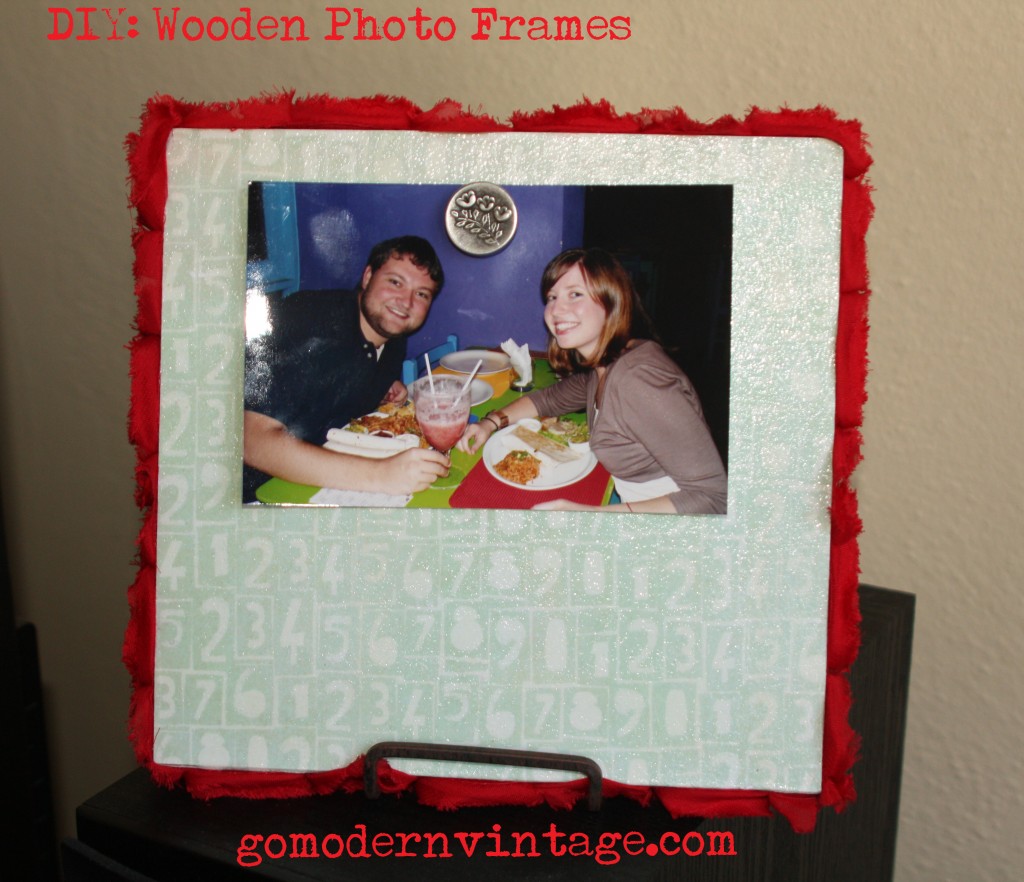
Well folks, after a small break it’s finally time for another DIY Friday (*cheers and applause)! Today’s project will be making a wooden photo frame with the help of some modge podge and scrapbook paper. I love making these little pretties, and although they do require some time, they are not too difficult to make!
For this project you will need:
- Piece of particle board cut to your desired measurements (I used 8″ x 8″)
- Scrapbook paper trimmed down to cover the size of the board
- Modge Podge and a small paint roller
- Acrylic Paint
- Small foam brush
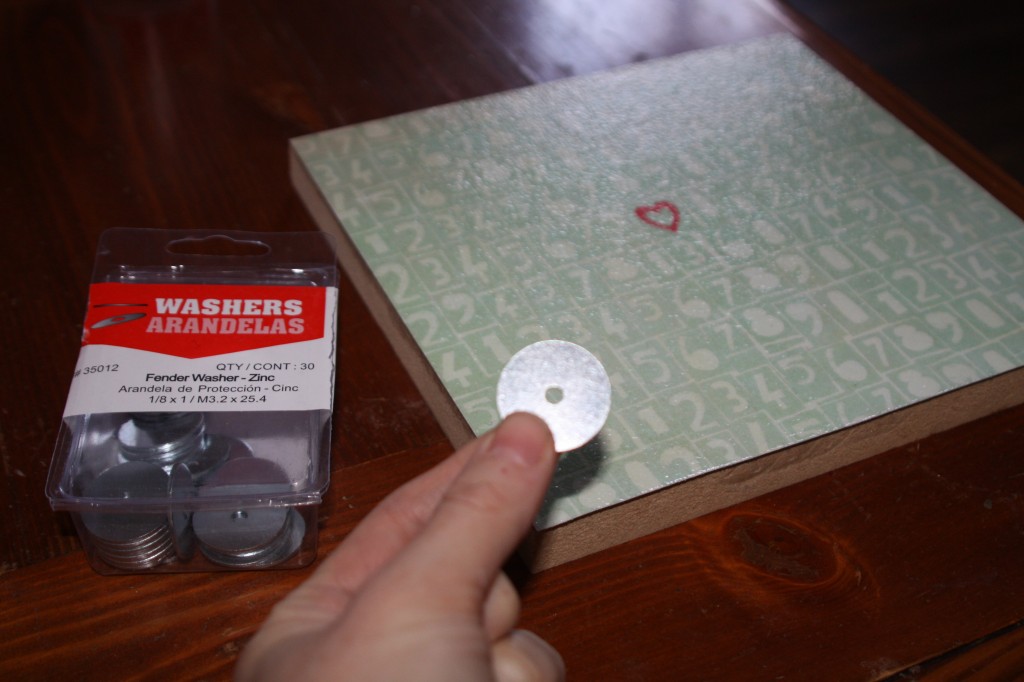
- Round fender washers – I used 1/8 x 1 sized
- Magnets – I used the 3/4″ diameter
- Button
- Ribbon cut to the total length of all four sides of your board
- E6000 adhesive
- Small Display Stand
Ok, I know that sounds like a lot of stuff, but a good deal of these things I already had from other craft projects. The rest you can easily find at a craft store and local home improvement store.
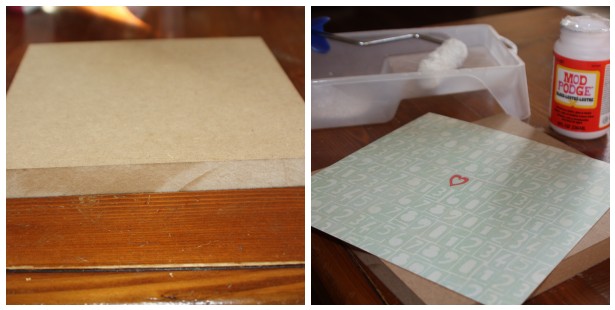
First, you will need to find a good piece of wood to use. I usually go to Home Depot or Lowe’s and look for particle board, around 3/4 of an inch or so thick. This time around it was a piece of particle board shelving. You won’t find any cut this small, but if you ask, they can cut it down to just about any size for you. You can get several frames out of one board, depending on the size frame you prefer. Once you’ve got your board, cut down your scrapbook paper to the cover one full side of the board. When I saw this scrapbook paper, I knew I had to do something with it before Valentine’s Day.
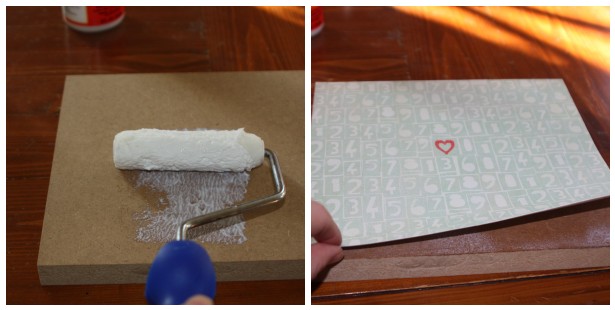
Next step is to Modge Podge the scrapbook paper to the board. Do a coat directly on the wood first, line up your paper with the edges of the board and press down, making sure there are no air bubbles trapped underneath. Then follow with a coat of Modge Podge on top. I usually do 2-3 coats, letting each one dry in between.
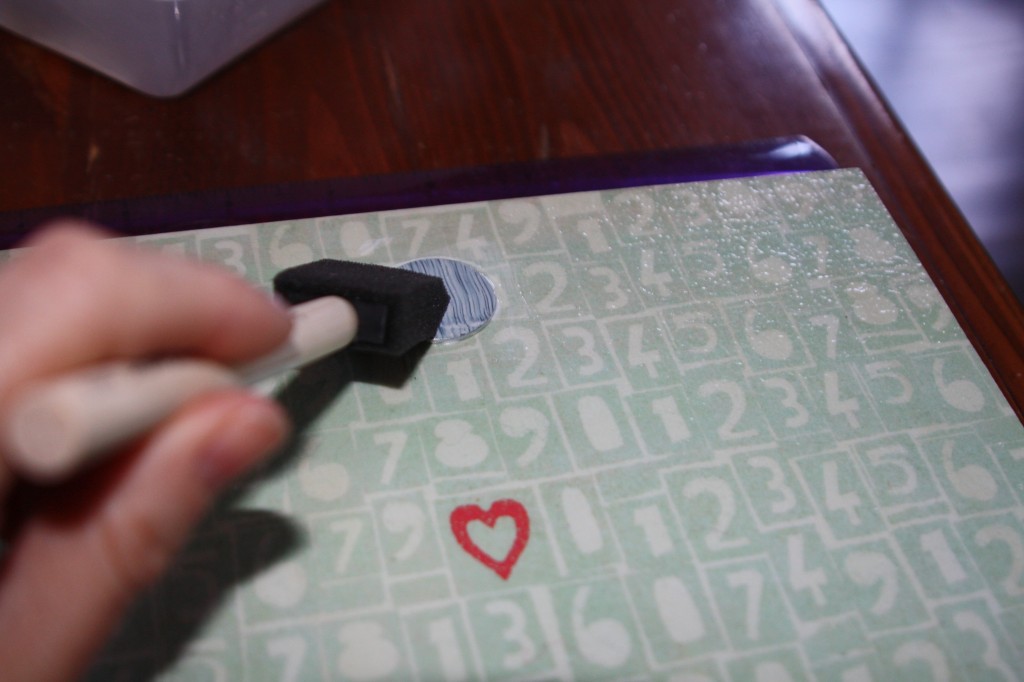
Once these coats of Modge Podge have dried, take one of your washers, coat the backside, then stick it to the top center of your frame. Give it a healthy coat of Modge Podge on top and all around, then smooth down and make it all look even by giving the whole thing one last coat with the roller. Let that puppy dry.
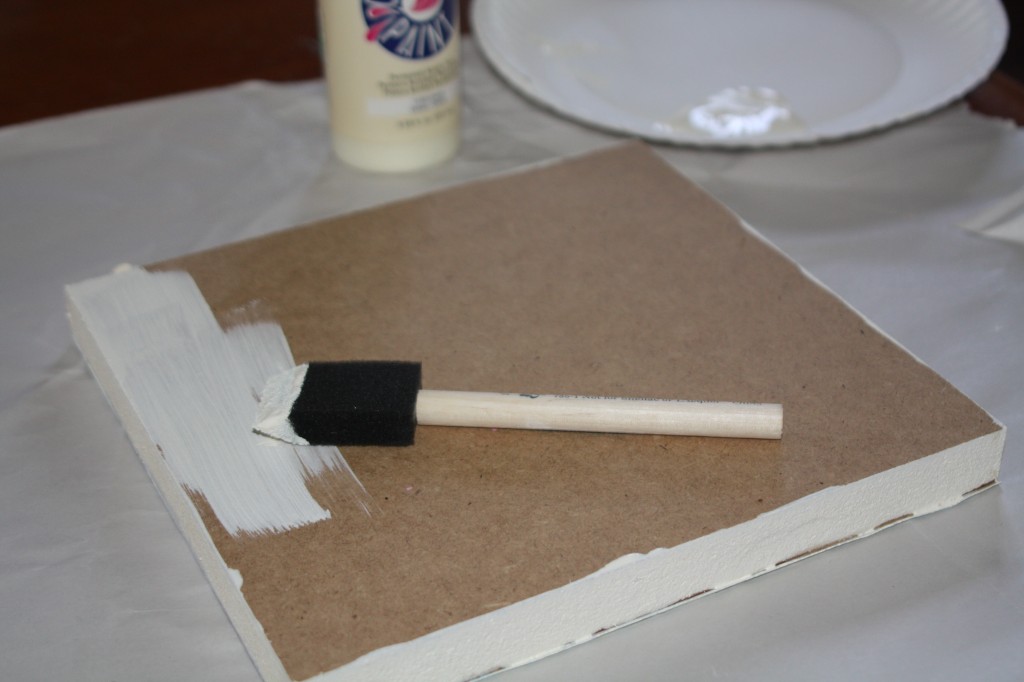
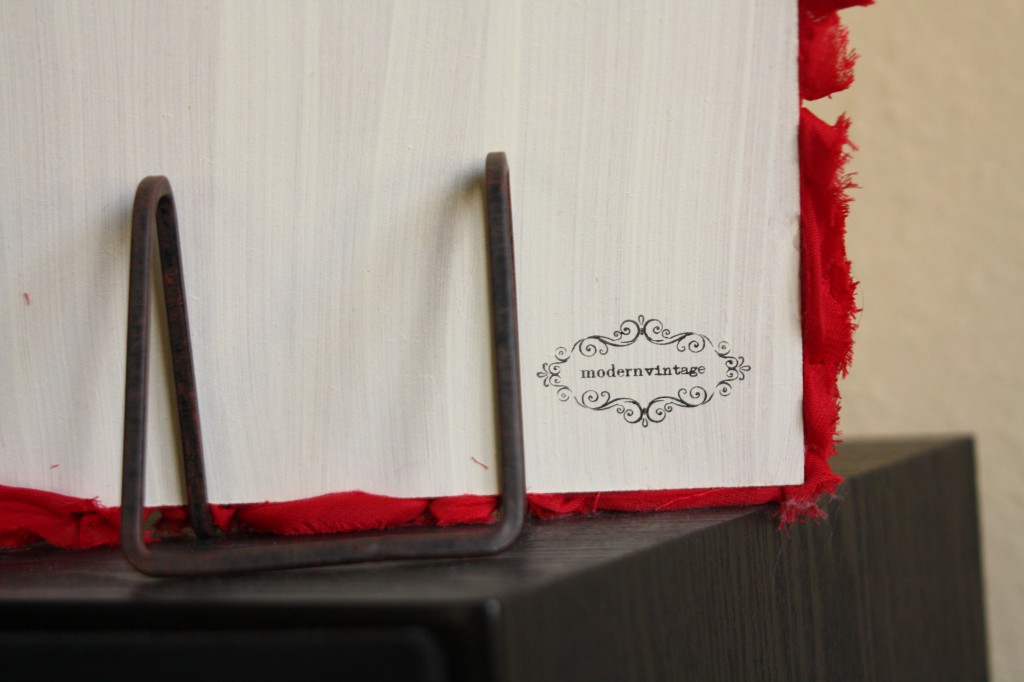
Once your washer is secure, you can finish prepping the board. I like to paint the sides and the back to cover up that particle board look and cover up any Modge Podge overlap from the top. I chose an ivory, acrylic paint for this frame and used a foam brush to cover.
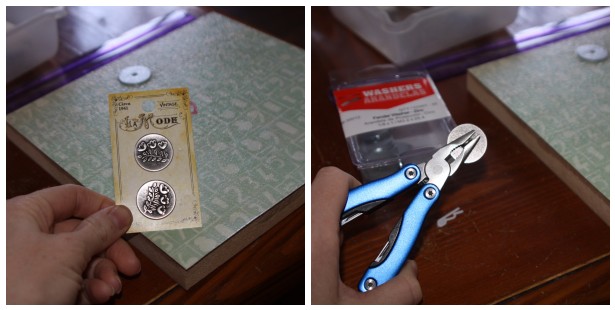
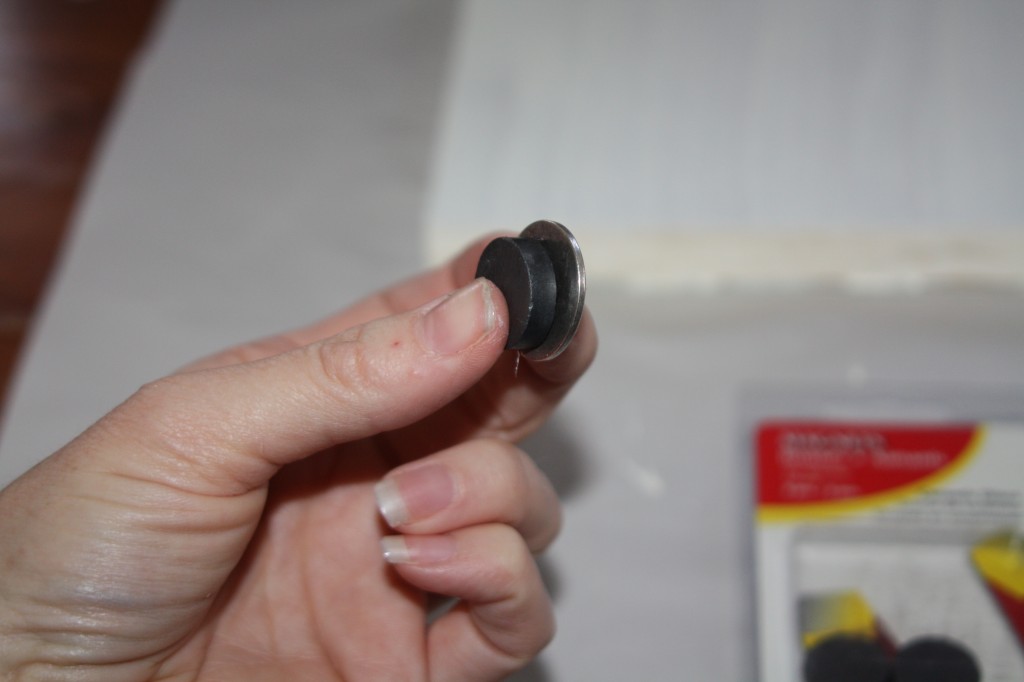
While all your paint is drying, you can work on the button which is how you will attach the photo to the frame. This is where your pretty button comes in. Using a pair of needle nose pliers, pull off the back of the button. Then, put a healthy glob of E6000 on the back of your magnet and press it do the button back. Once you’ve pressed them firmly together, put something heavy – like a book- down on top of them for a bit to clamp them together – maybe 20 minutes.
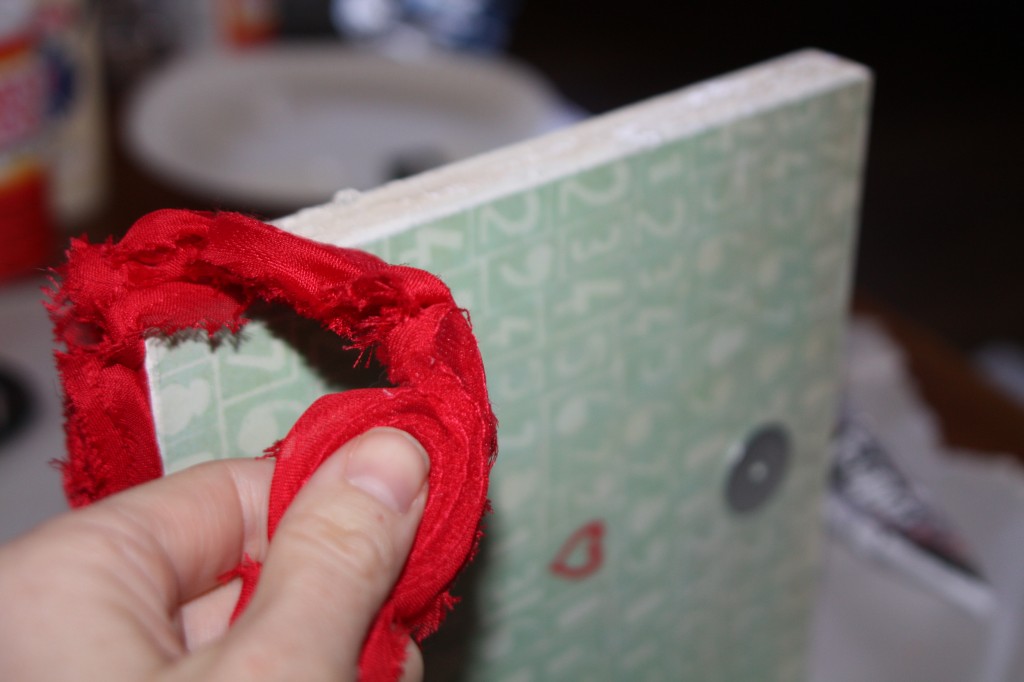
Then, once all the paint is dry, I attach the ribbon using the E6000 glue. It gets kind of goopy, but just spread it across the side the best you can, then press down the ribbon.
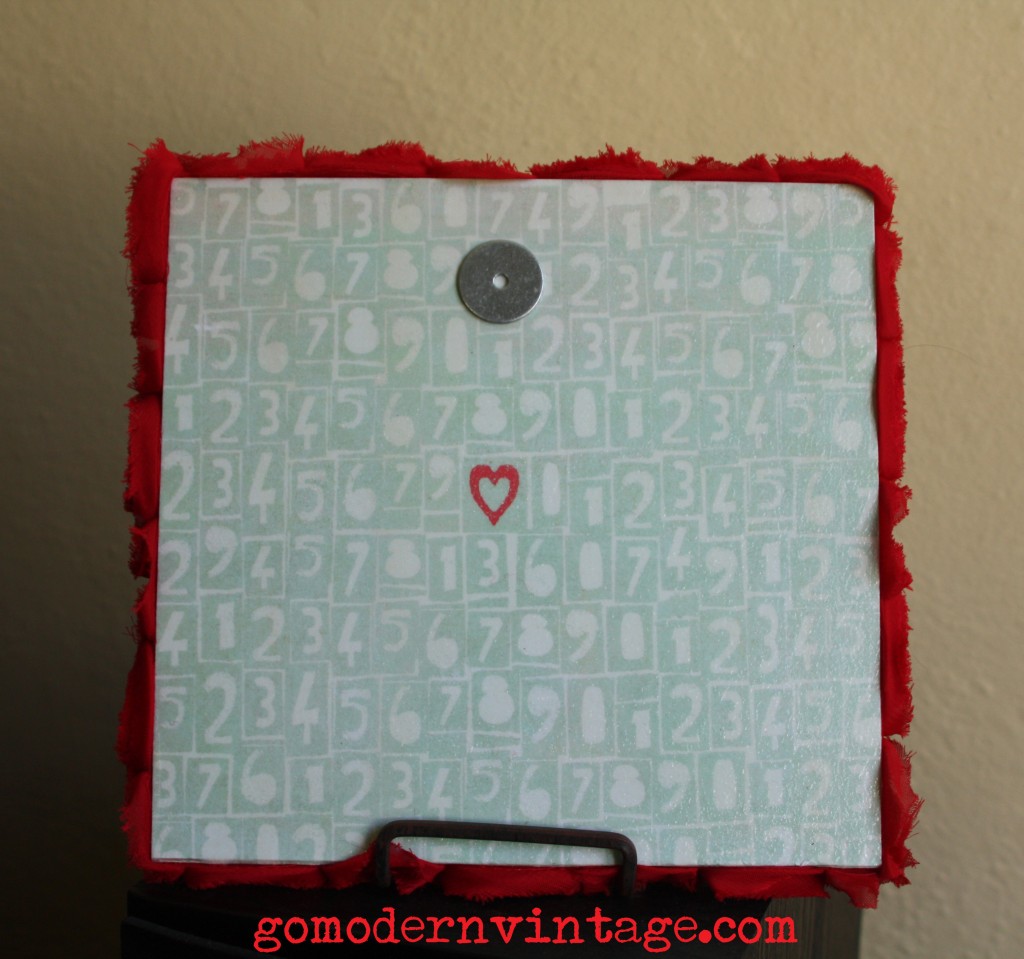
Then, oila! Set in your display stand and you have a homemade wooden photo frame.
I love the little heart on this design so much, I could just as easily forgot the photo, magnet my button to the washer and be done with it. 🙂
The last step is to attach your photo!
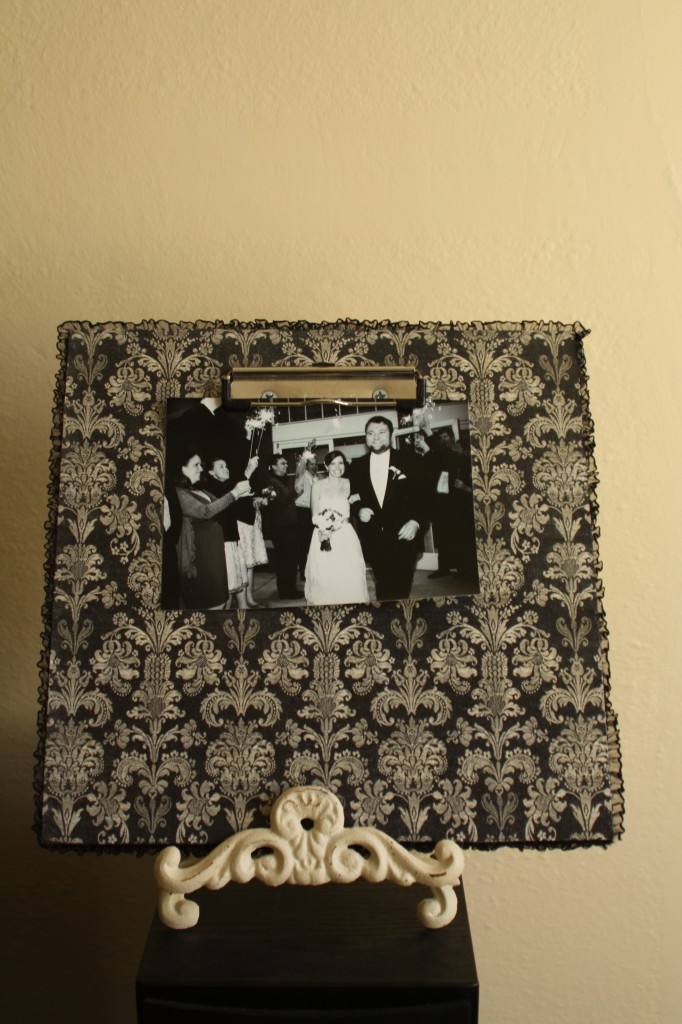
That wasn’t too bad, now was it? Remember, you can play around with sizes, different display stands, buttons and ribbon. Make it your own! Here’s one of my early trials at this where I used a 12″ x 12″ board and the top of the clipboard to attach the photo. The washer and button is definitely waaay easier.
If you are in the Nashville/Murfreesboro area, Becca and I have these little frames and bunches of other handmade goods available for purchase at Simply Southern Marketplace in the Boro.
Good luck and have a great DIY (and Super Bowl) weekend!
Comments +