In keeping with the fall, Octoberish theme, the craft I have for you today is pretty fun. Btw, I LOVE decorating my house. When the seasons change I get all giddy as I squeeze into our big storage closet (ok so it’s the teensy blocked off staircase to the top of the house and the only storage we have) and push out all of the boxes and bins holding decor for the new season.
You probably know by now, both Becca and I love old books so anytime I find a new way to include them in decor or crafts, I jump on it. I don’t remember exactly where I found the original tutorial for the book page pumpkin last year, but I thought it was super neat. Now that fall has crept up again, I figured it might be time to make another!
For the project, you will need:
- An old book
- Scissors
- Hot glue
- Orange spray paint (if desired)
- A stick from your yard
- Small piece of ribbon
Seriously, that’s it! Other than the spray paint, you most likely have all these things somewhere around your house.
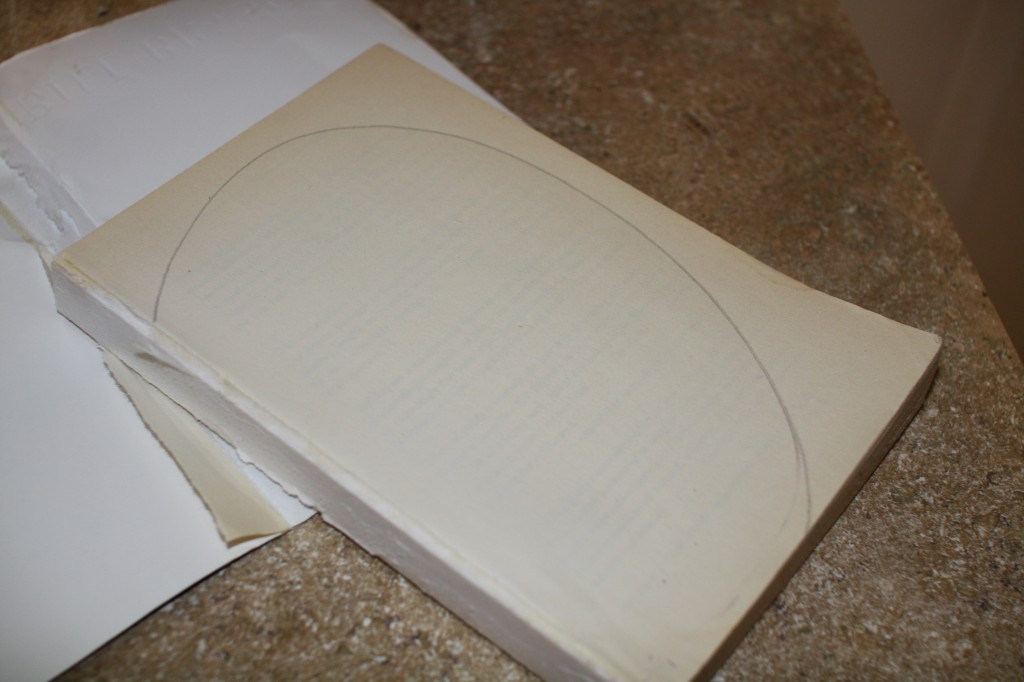
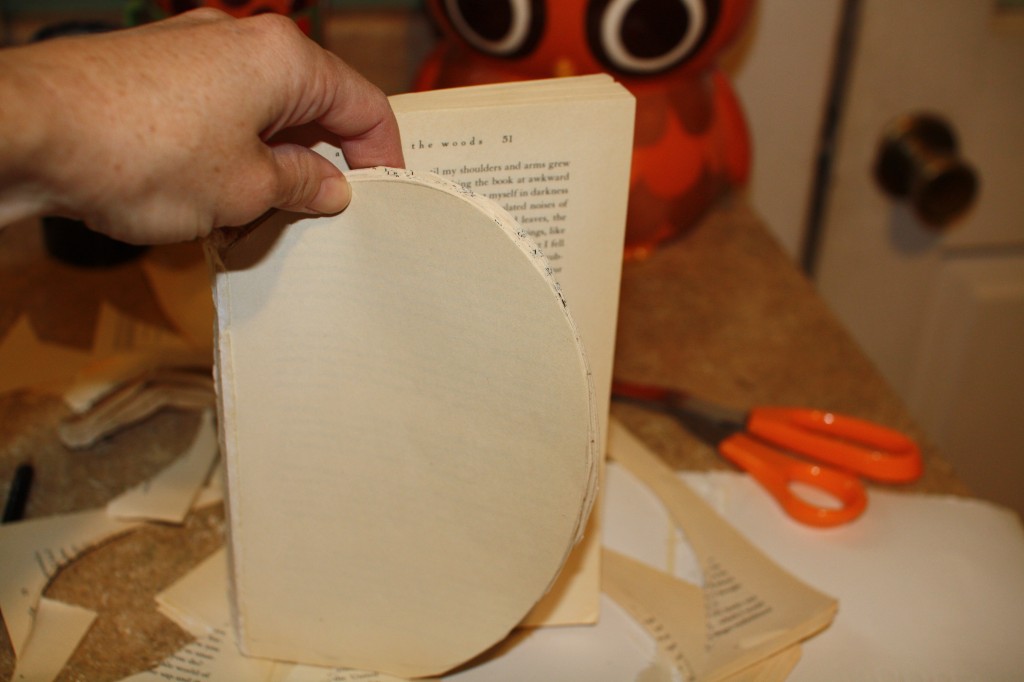
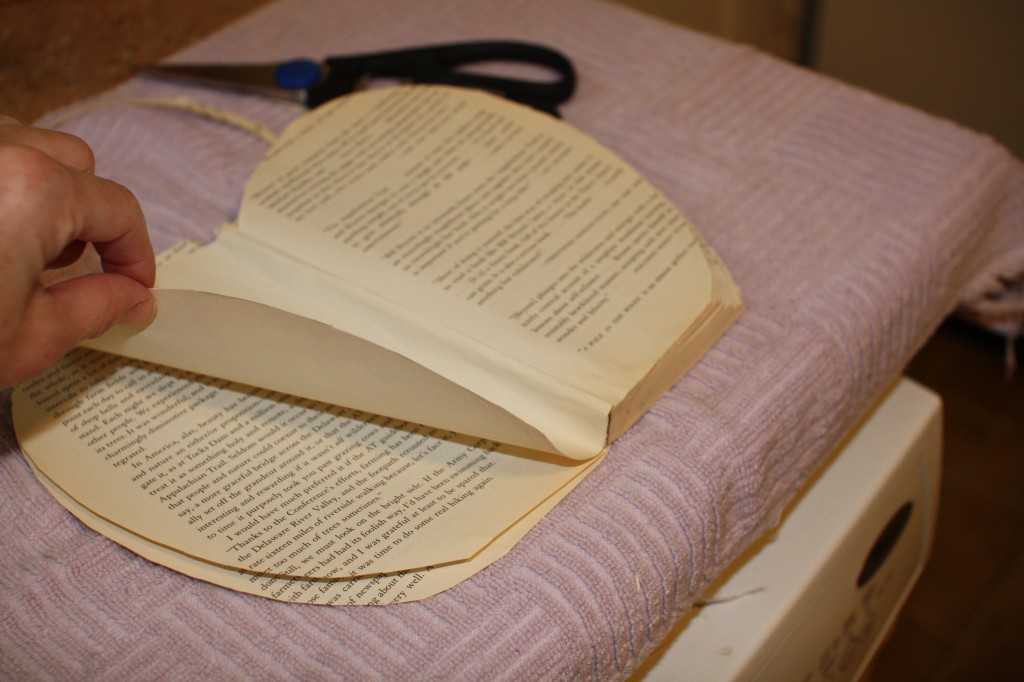
Start by pulling the cover off your book. I used a paperback because the cover comes off a bit easier. Use a pencil to draw a half pumpkin shape on the front page of the book. Then, just begin cutting. Make sure the bottom is less rounded and flatter so that your pumpkin will be able to support itself.
This is the time consuming part. It can take a little while to get all of the pages cut out, but once you’re done, it’s smooth sailing.
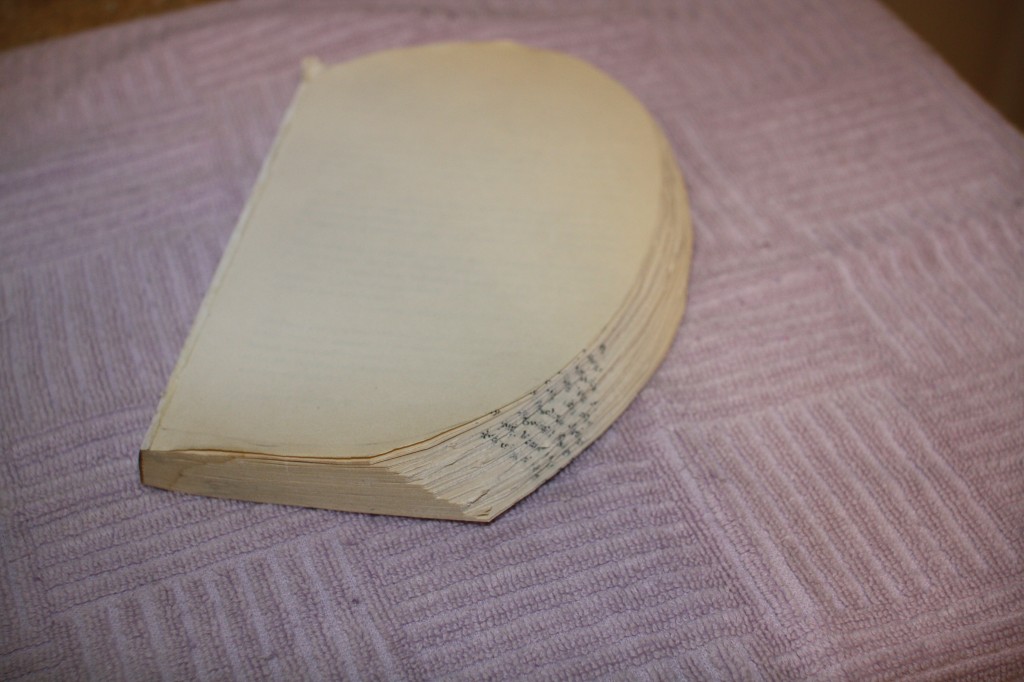
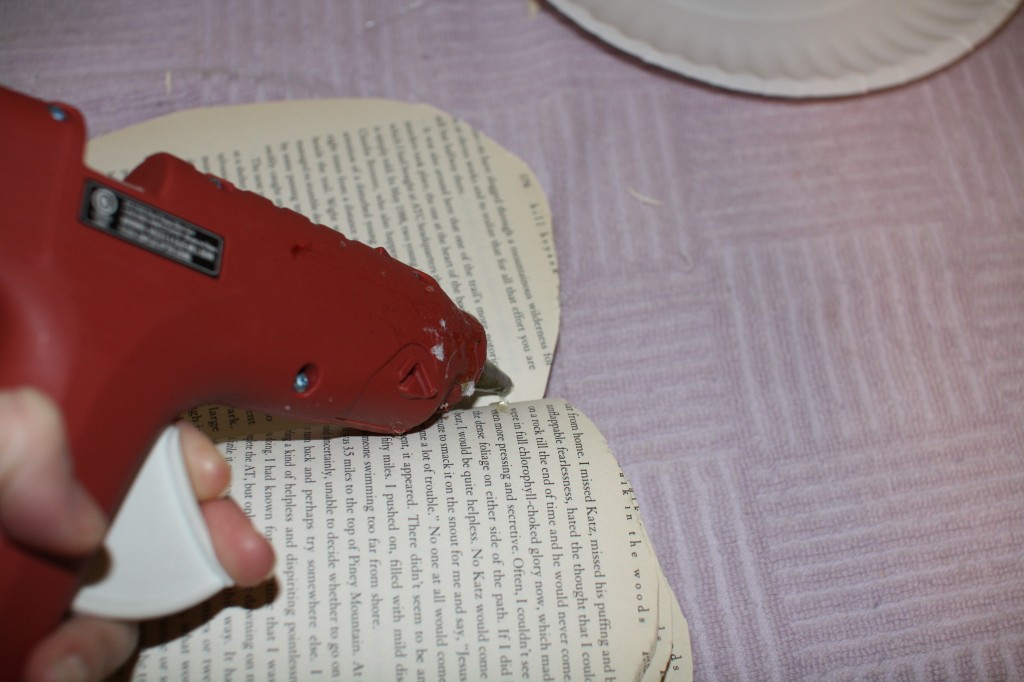
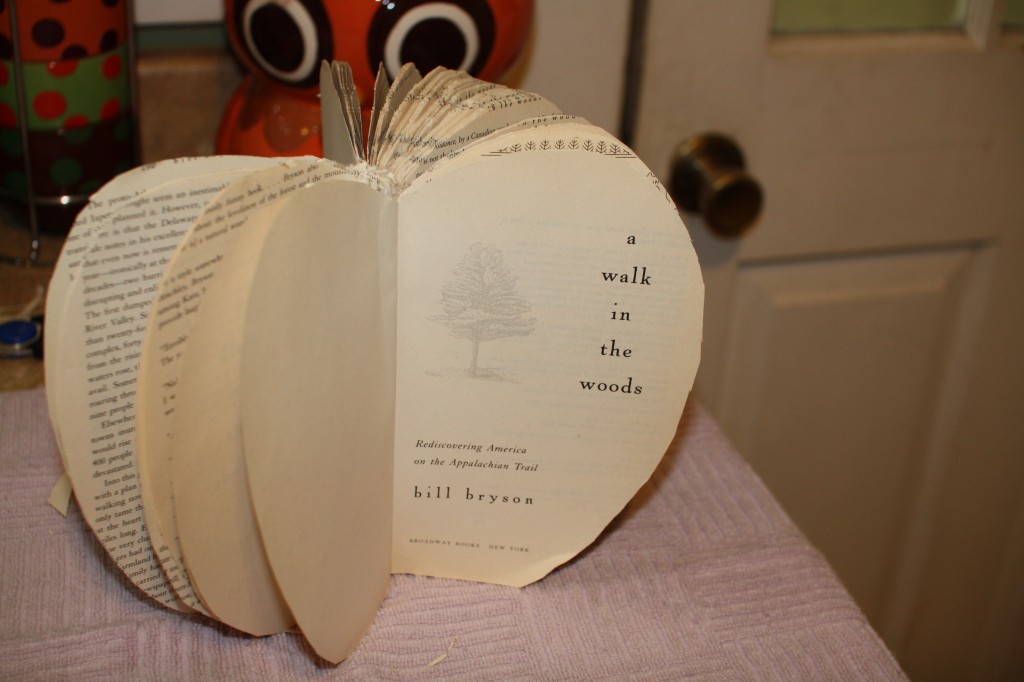
Once finished, your book should be the shape of half of a pumpkin. Now to get your glue gun ready. Stretch the book around what’s left of the spine and hot glue the front and back pages together close to the crease of the spine so that the outer edges of the pages are still free. You might want to also put a dab of glue in the top corner of the pages.
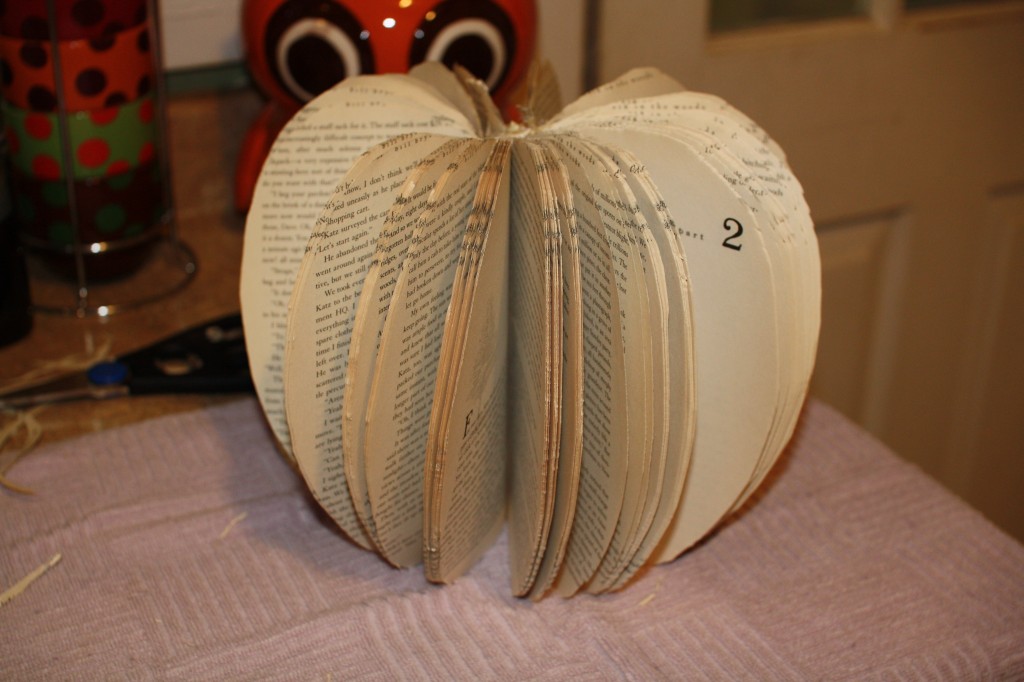
Now you should have vague pumpkin shape. Then just start fluffing it out by separating out small clumps of pages and gluing them together near the spine and in the top corner until you have a lovely full pumpkin.
Now to give your pumpkin a little color. If you prefer to skip this step, you can go right to the stem. Otherwise, all you need is a can of orange spray paint. I just laid my pumpkin down on a piece of cardboard and gave it a light spray. I didn’t want to cover it all completely, but rather just get all the edges and a little bit of the pages. You can cover as much or as little as you want.
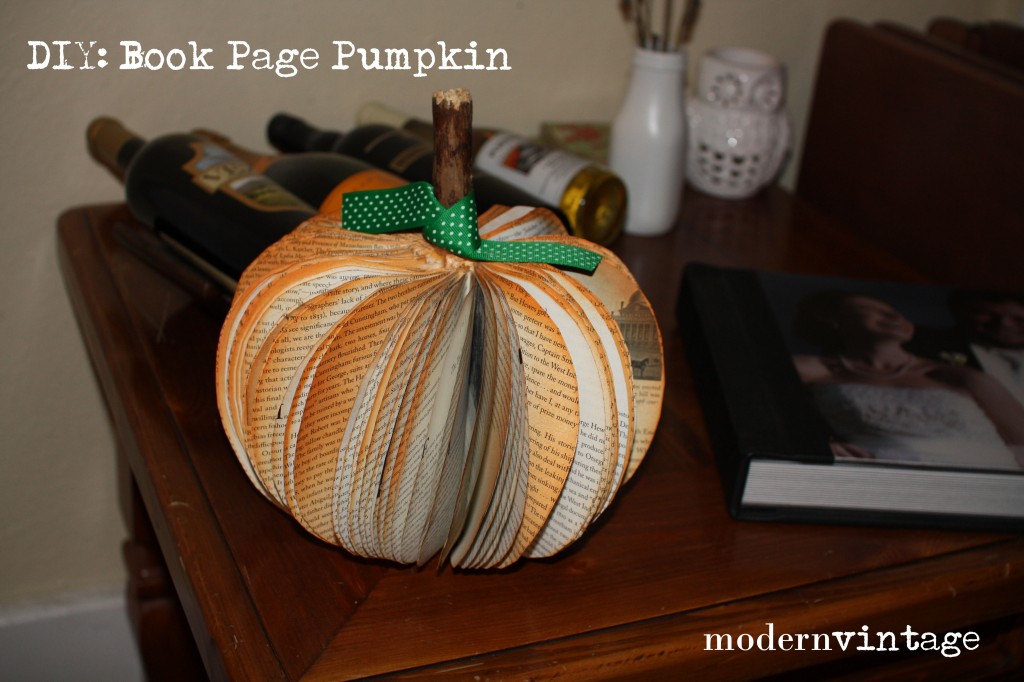
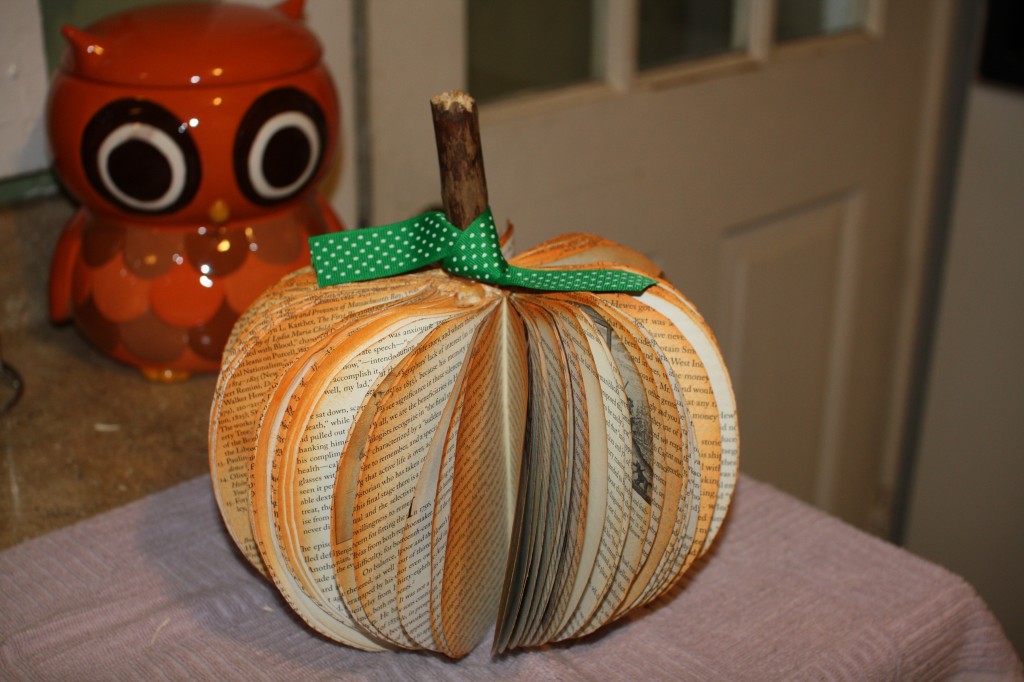
Once the paint dried, I simply found a stubby little stick from my yard and hot glued it to the top, then knotted a little piece of ribbon around it, which hid the glue. And oila! A book page pumpkin!
P.S. I know you’re all jealous of my adorable owl cookie jar in the background compliments of my sweet mom in law.
Enjoy!
Comments +