You guys remember TGIF right? Friday nights at a friend’s house getting your Uncle Jesse and Urkel fix. Around here we love Fridays and still have some nostalgia about popcorn and TGIF. In the shows on TGIF there were lots of neighbors and guest appearances. Some came to annoy, think Urkel and Kimmy Gibbler, and some were best friends, think Shawn Hunter from Boy Meets World. Today we are inviting one of our “neighbors” to post a guest DIY. She just happens to be my sister-in-law and is a super mom and wife with so much creativity! Well, I will let her tell you…
DIYF: Accordion Album
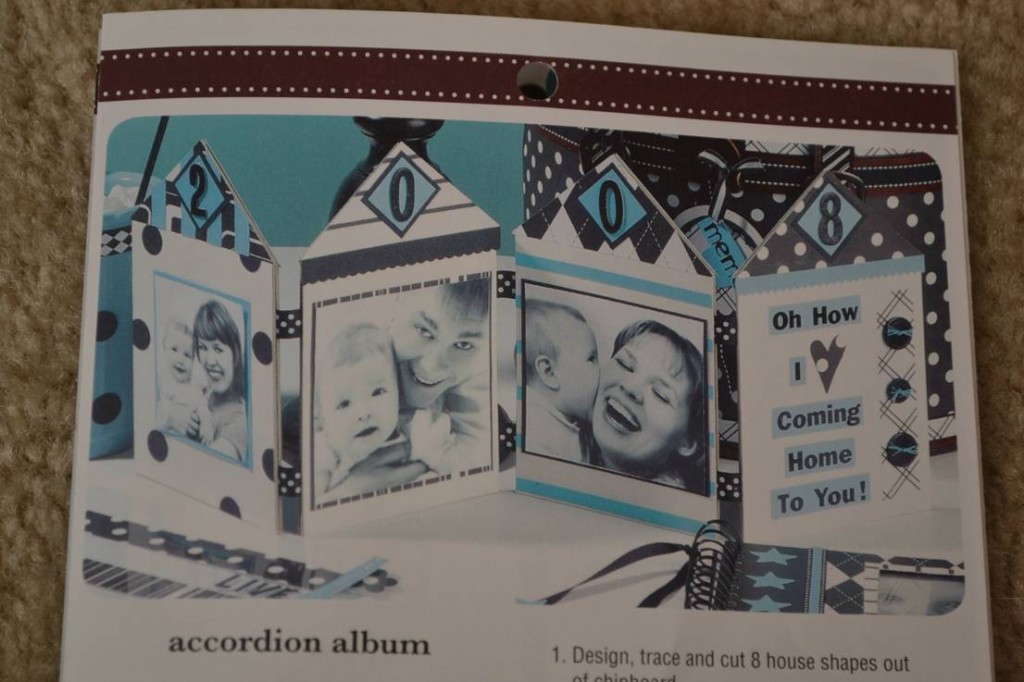
Hello Modern Vintage readers! I am so excited to guest post here today! I’m Amanda and I blog over at Cutiepie Creations. I love to craft, bake, sew, party planning and all sorts of DIY projects, especially simple ones! The project I’m sharing with you today is an accordion album inspired by a Hobby Lobby pamphlet and is quick, cute and inexpensive to put together- three of my favorite words. In fact, you probably have most the materials on hand.
Supplies:
Chipboard or cardboard
Scrapbook paper
Modge Podge
Hot glue gun
Ruler
Glue stick
Pen/pencil
Scissors/cutting tool
Embellishments- photos, buttons, ribbon and rub-ons
Inspiration from the HL pamphlet
Let’s get started!
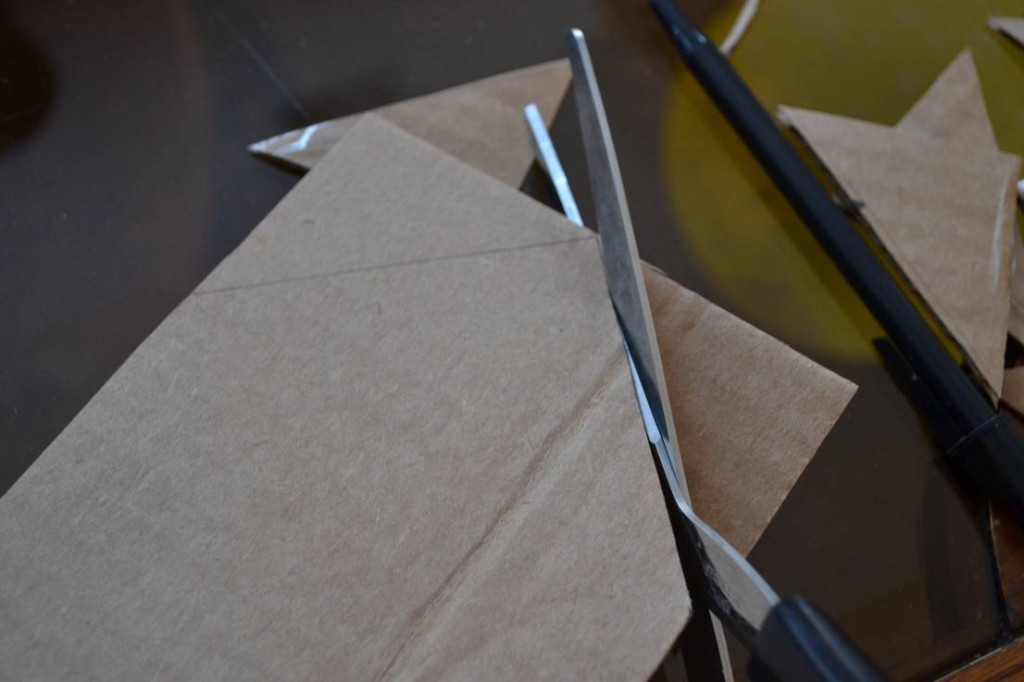
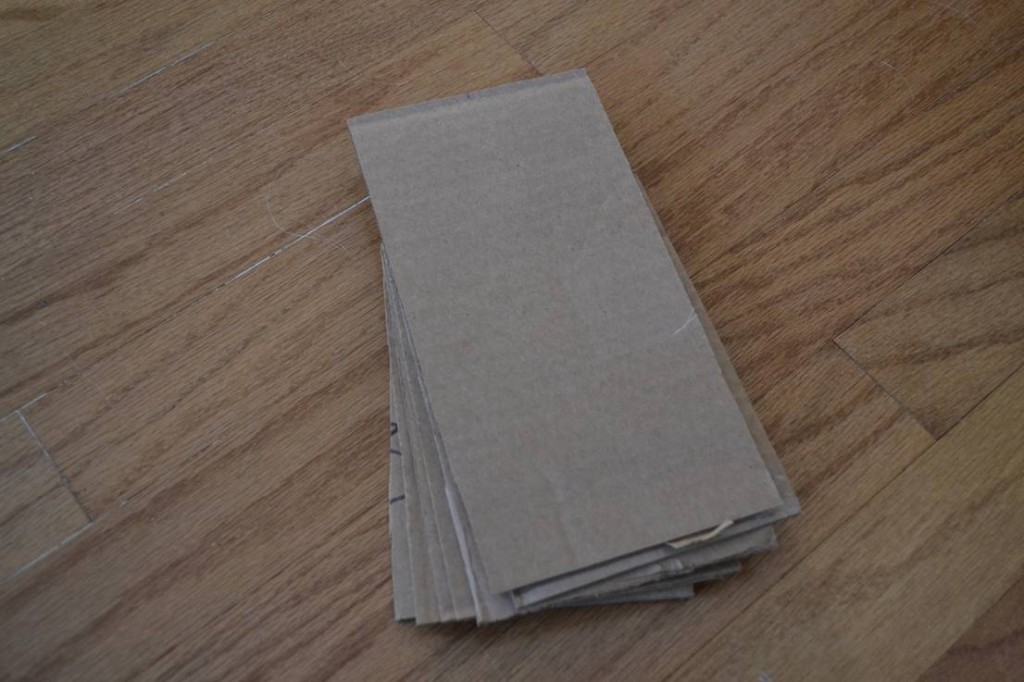
First, trace 8 house shapes onto chipboard or cardboard and cut out. If you choose cardboard, pick a box that’s sturdy enough to stand on its own, but easy enough to cut. I used cardboard because we moved recently and have plenty of boxes on hand. I cut 8 rectangles, approximately 3.5×7.5inches, then traced the roof on each piece with a pen and ruler then cut with scissors.
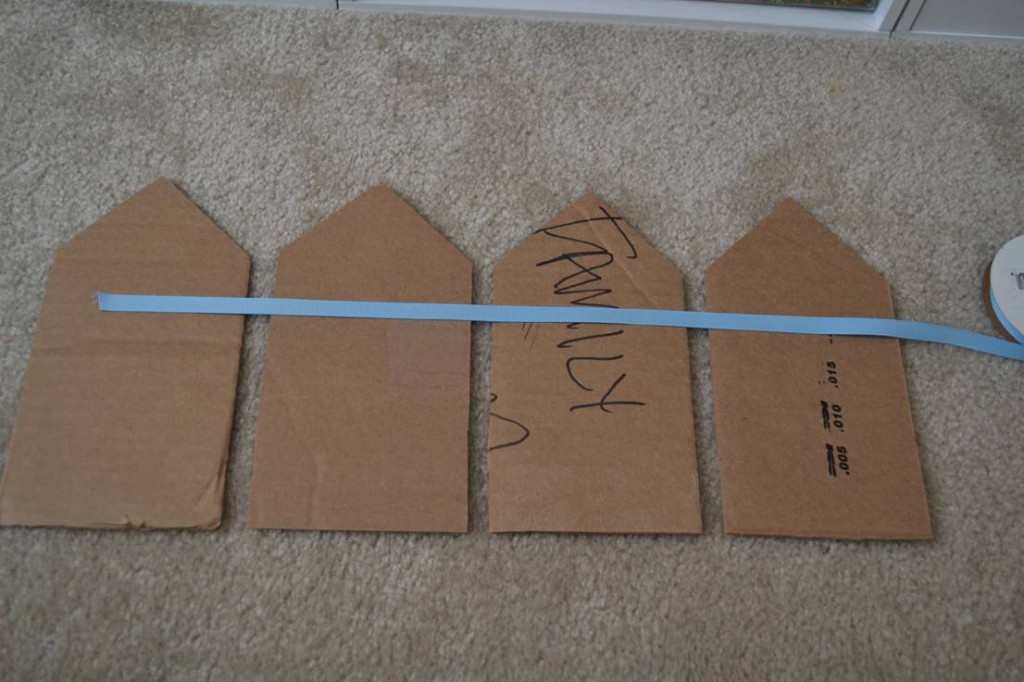
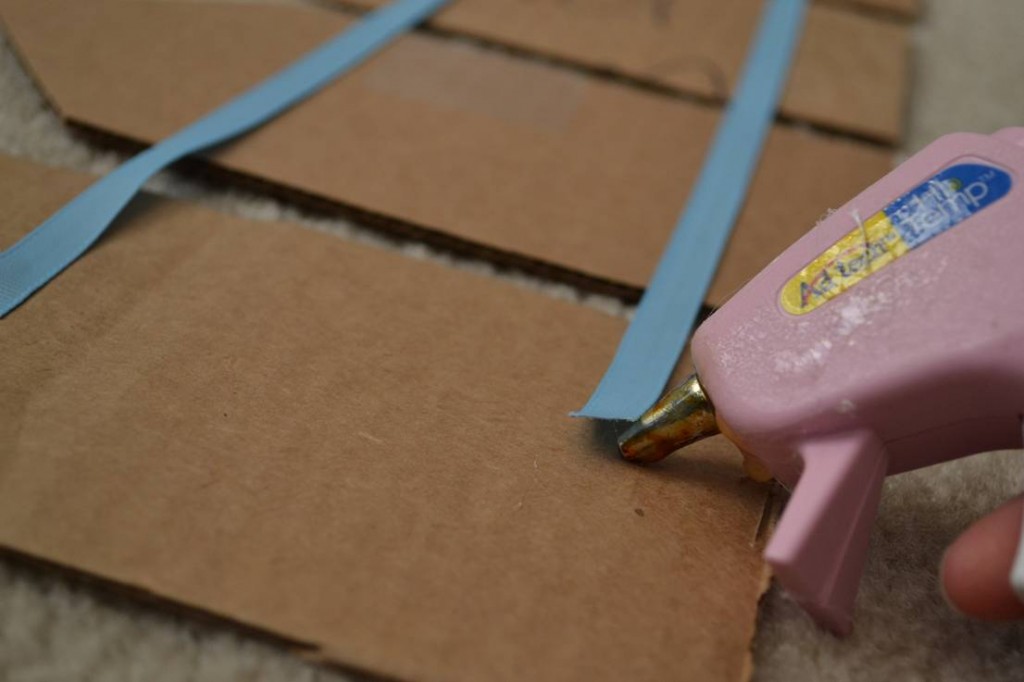
Next, lay four of your houses on a flat surface side by side with a small space between each. Lay ribbon across all the houses and cut two pieces of ribbon slightly shorter than that length. Hot glue the ends. If you’re using cardboard, don’t worry about the ugly side, like mine here, because you’ll be adding more pieces on top of this.
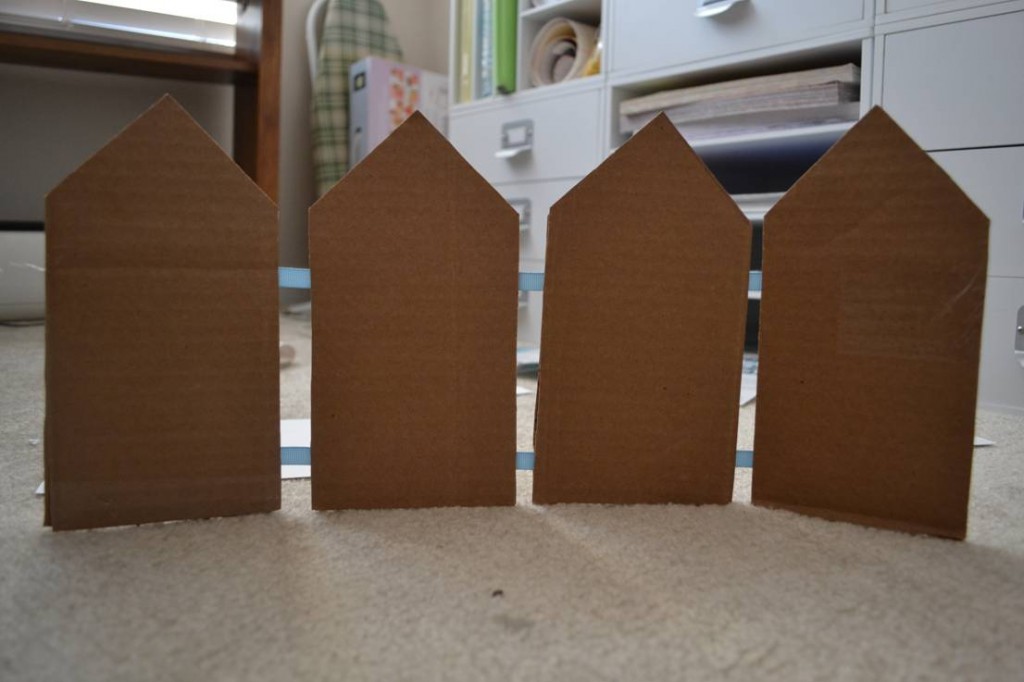
Once you’ve completed these steps, lay your other 4 houses on top of the houses with ribbon and hot glue together. The ribbon makes the houses one unit and gives the album its accordion. At this point, you should have something that looks like this:
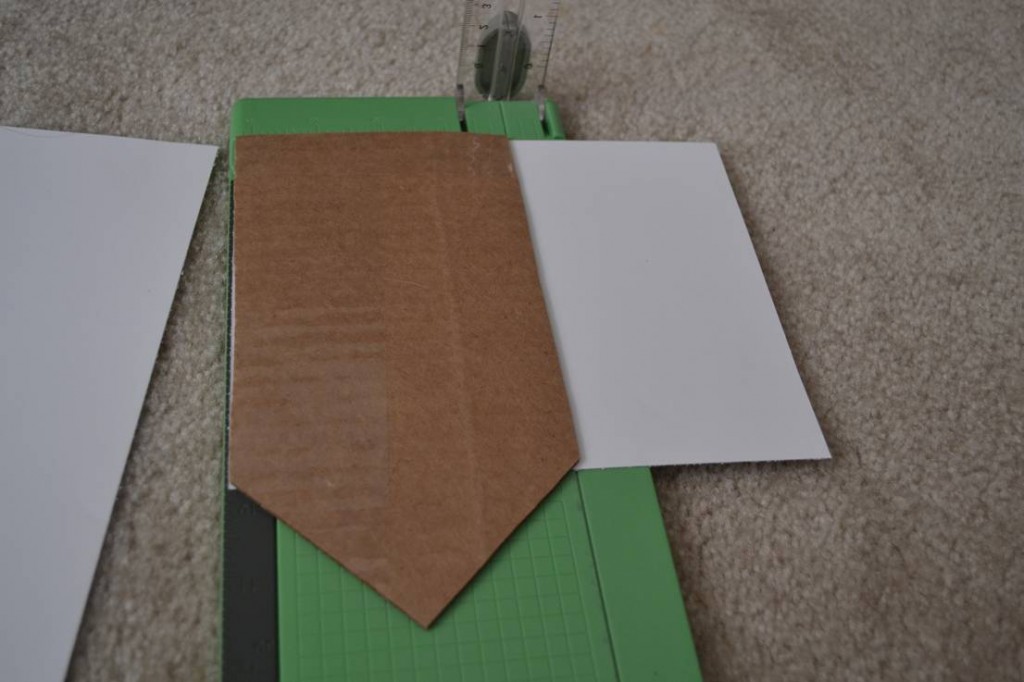
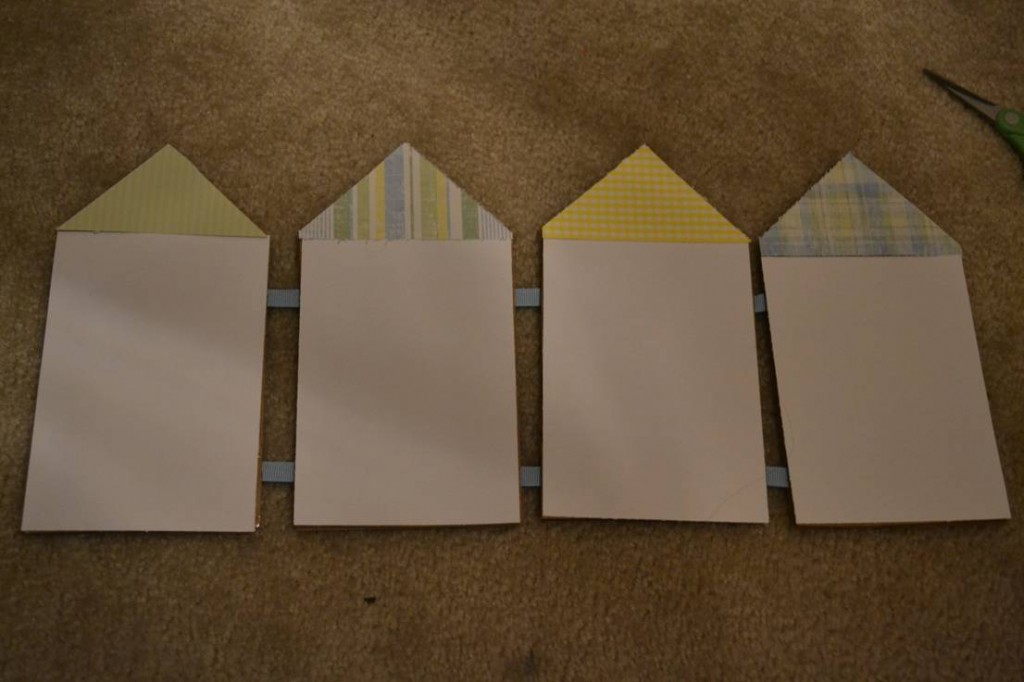
Next, cut your scrapbook papers to size with scissors or a cutter and glue to the houses in a coordinating pattern you like. I used white for the house and patterns for the roof because I liked the contrast from my inspiration. Also because I didn’t have enough of the “roof” paper to fill the whole house. 🙂 Since I was working with cardboard, I used Modge Podge to ensure a good, even stick.
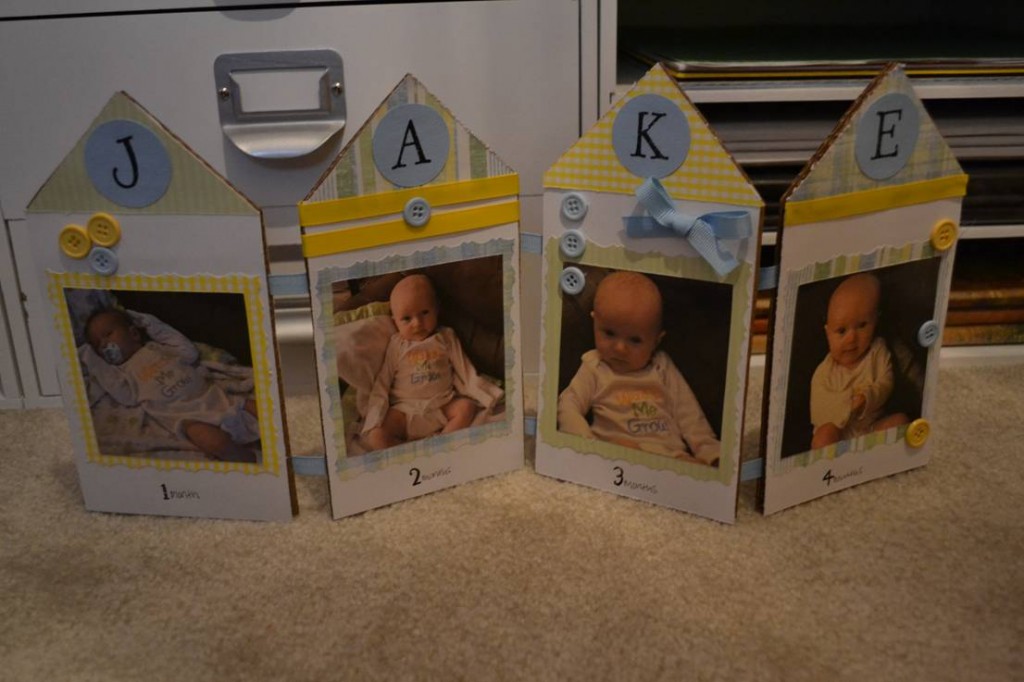
Last is the fun part, embellish! I created this album for my baby’s room so 4 houses was exactly what I needed, just like my HL inspiration, but you could use as many as you need. A longer name- first or last- your wedding day or honeymoon, a birthday, vacation, anniversary or whatever else you can think of! The possibilities are endless and you could make this is as long as you want or double sided. I used photos of my son from 1-4 months, added his name using circles cut from my Cricut (but a punch or hand cutting them would work as well) and rub-on letters. I have a great tip for using those here (http://cutiepiecreations.
Thanks Hobby Lobby for the great idea and inspiration! I love the way it turned out; the album looks so cute in my son’s nursery! What’s even better is this project cost me $0 by using all supplies on hand. Give it a try! And feel free to browse my other crafts and party ideas at Cutiepie Creations. Thank you Modern Vintage for inviting me to guest blog today!
Comments +