


If there’s anything I love more than mason jars, it’s colored mason jars. Especially the lovely blue green ones that I have seen popping up more often lately. Sadly, these beauties tend to be much harder to find and more expensive then their clear glass counterparts. So naturally, the DIY community has begun to develop all different ways to overcome this minor setback and fake it. I’ve seen tons of tutorials running the full gamut of materials and strategies.
The two most common ways I seem to keep seeing are either staining the outside with glass paint or staining the inside via Modge Podge and food coloring. So I decided to attempt the project using both tactics side by side to see which produced the best results. I chose a few jars for each side of the project.

Modge Podge + Food Coloring
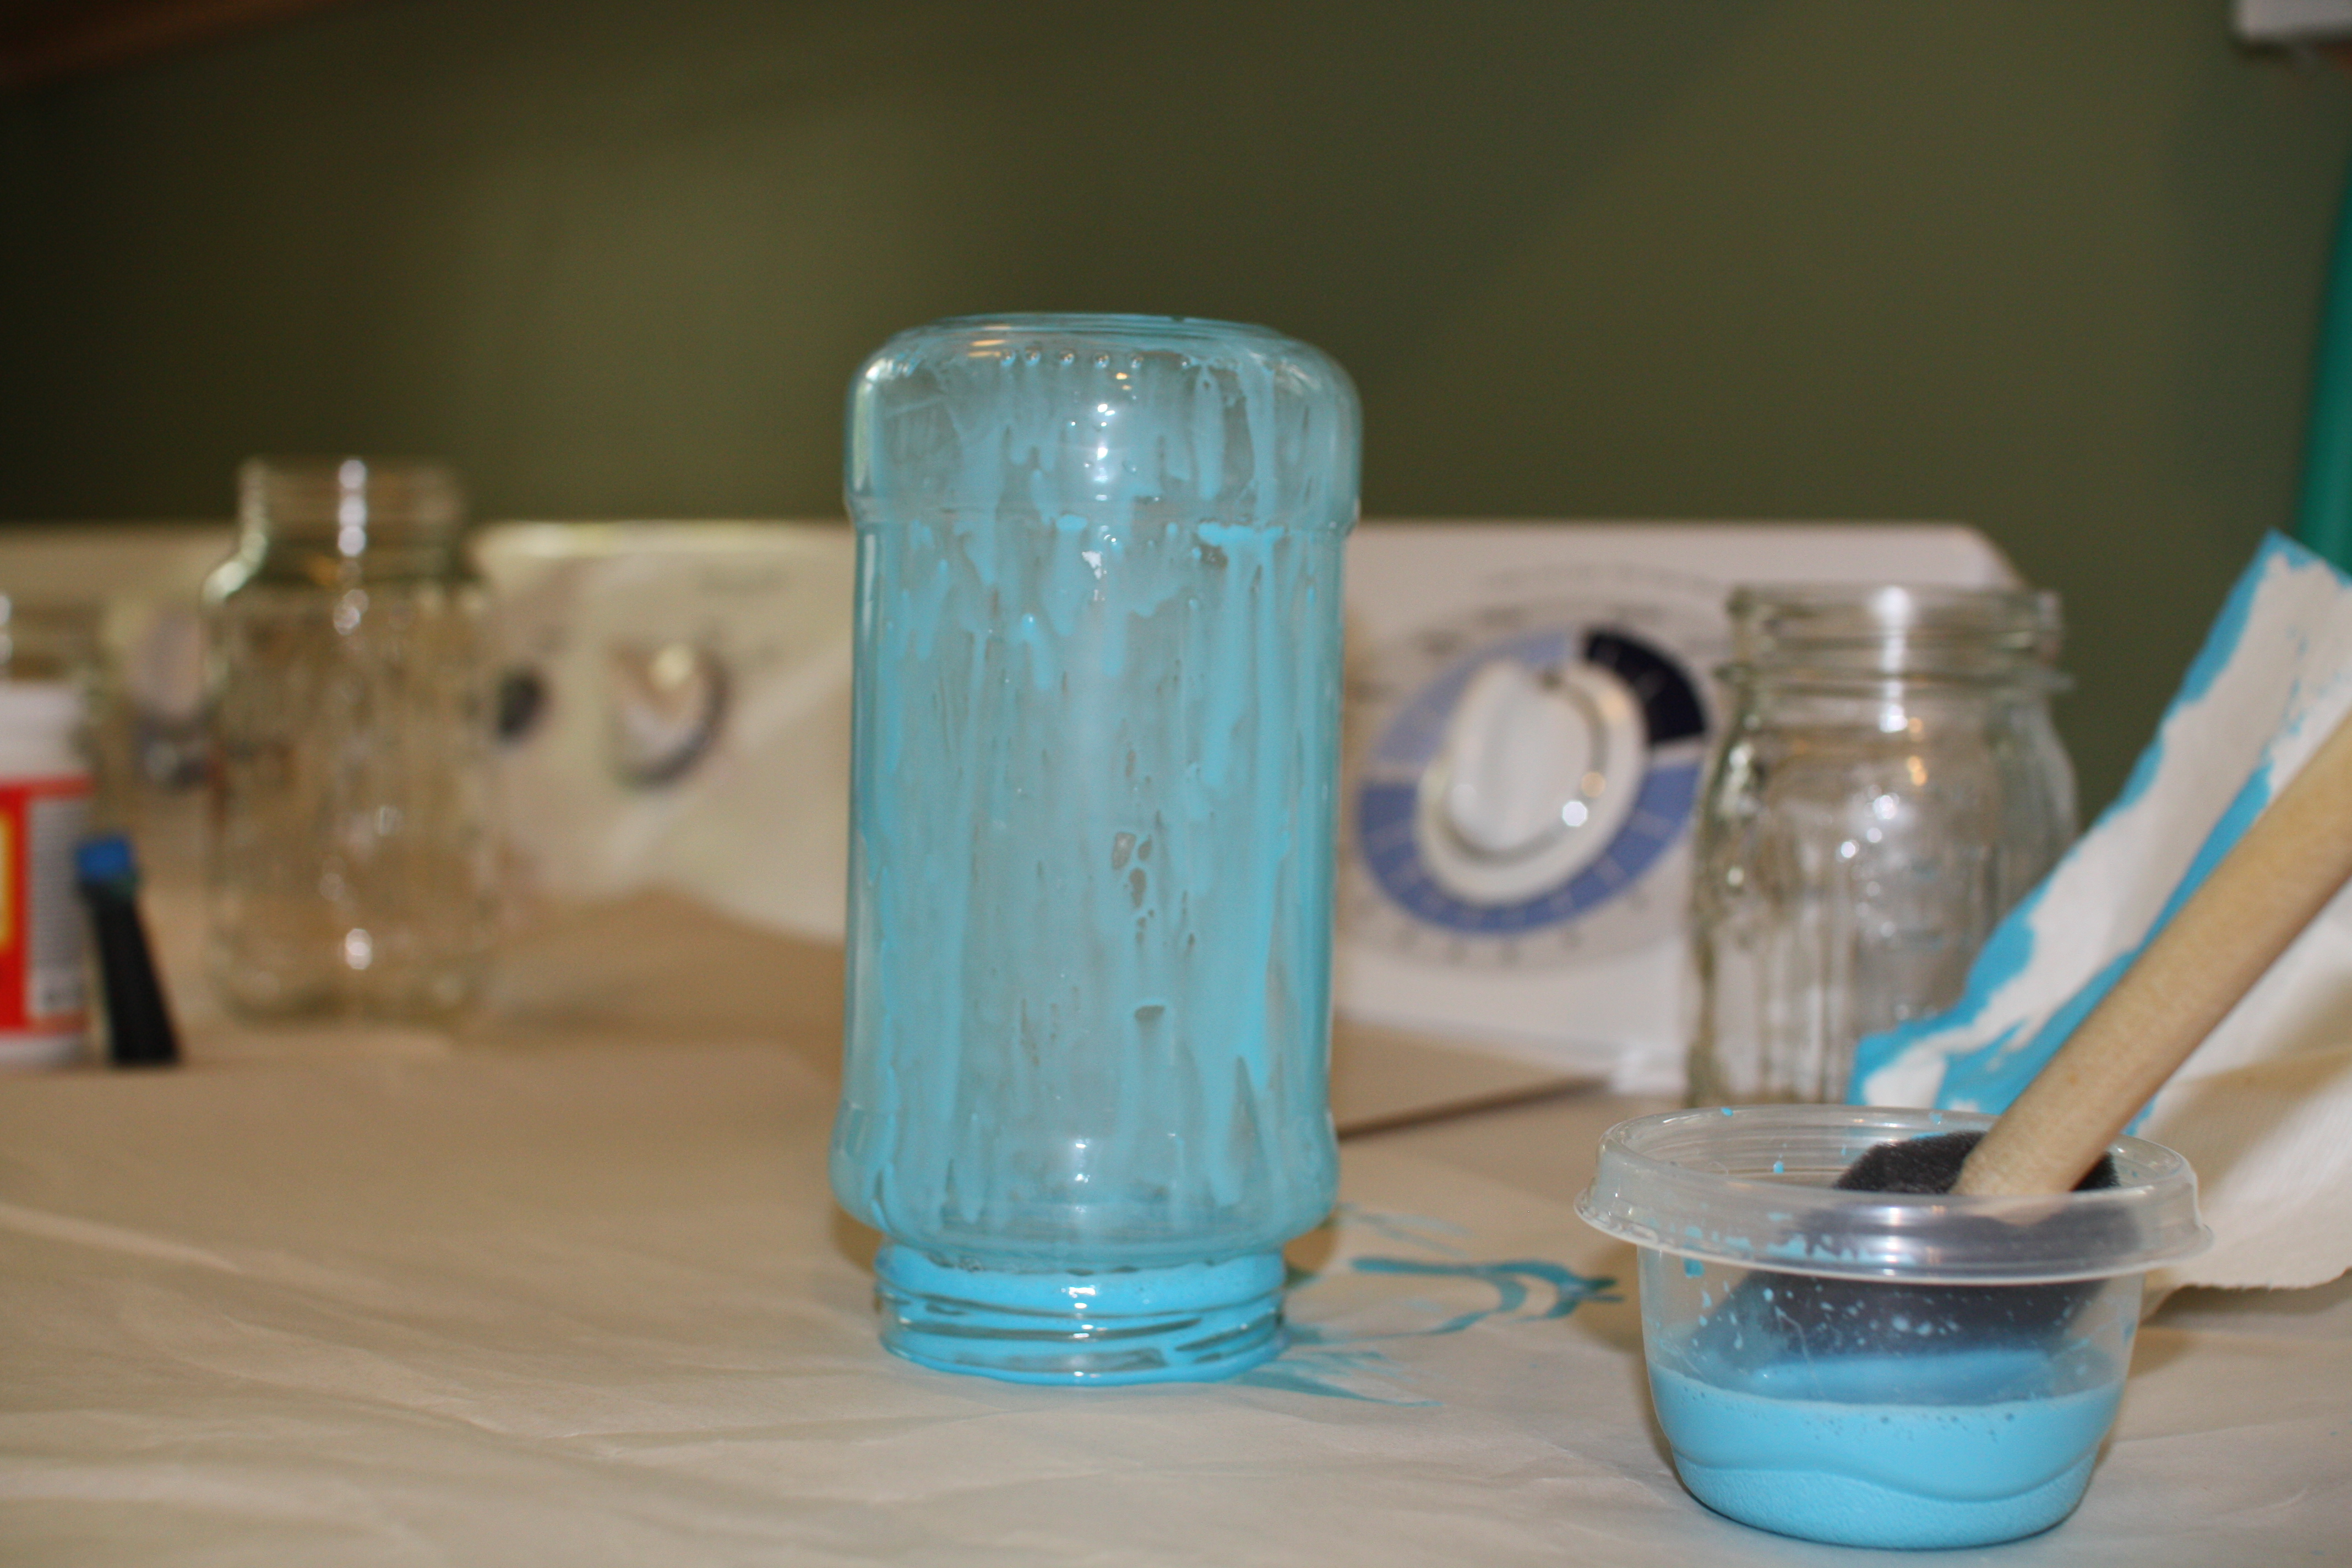
For this method, I used the Gloss Modge Podge and both blue and green liquid food coloring. To start, I filled one jar with a little bit of Modge Podge in the bottom, maybe around 1/4 of a cup (I just eyeballed it.) In a second container, I put a few spoonfuls of water then added several drops of food coloring. The first time around I think I did about four drops of blue only.

Yes, that is my dryer in the background. We might be just a tad limited on counter space 🙂 I poured the food coloring mixture into the jar with Modge Podge and stirred until it was a uniform color. Then, just swirl it around until the entire inside of the jar is coated and pour into the next jar. I had enough to do three jars and probably could’ve done at least one more. Once fully coated, I flipped the jars upside down to drain.

I would recommend some kind of drying rack here. The mixture puddles as the bottom, so I had to keep moving the jars periodically. When mostly dry, turn them right side up so could finish.I recommend laying down wax paper on top of cardboard or heavy paper to protect your counters…or washer/dryer 😉 . I tried packing paper the first time and it stuck to the rim of the jars, but the wax paper pulled off cleanly.
Glass Paint
For this one, I used Americana Gloss Enamel in Calypso Blue. The paint is very thick so I tried thinning first with water, then with paint thinner and coated with a sponge brush. Neither of these options looked too pretty.

Some of the tutorials I’ve seen use Vitrea glass paint here. I could not find it at any of my local craft stores, which is why I went with the Americana brand. Obviously, these must be two very different types of glass paint.
Results
Once finished, I let both versions dry about 24 hours, then baked them. All of the tutorials I’ve seen have suggested baking the jars after drying to set the color. Notice that even at this point the ones done with glass paint look streaky and awful. The Modge Podge ones were actually quite pretty. Until…

When I pulled them out of the oven, I was surprised to find that the color baked right out of the Modge Podged jars. They were totally clear. Whah whah. The glass painted ones still looked awful. I redid the Modge Podge jars again and let dry, skipping the baking process (results from version 2 in the photo below). I added a few drops of green as well this time and I think they came out quite nice.

For the jars with the painted outside, I used the rough side of a sponge and tried to clean up the awful streakiness a bit. It came off pretty easily even after being baked but clung to the ridges in the wording and designs. Not exactly the result I was originally looking for, but still kind of neat.
So here are the initial results. The Modge Podged jars look a little lighter on camera.


Pros & Cons of each method:
Modge Podge Pros: This method was way easier, took less time and yielded a really nice result.
Modge Podge Cons: Notice in the photo above that there is no water in the Modge Podged jars with flowers. Modge Podge is a water based product and will break back down if it gets wet. I tried adding water to one of the jars and after an hour or so the result was a goopy white mess inside the jar. But, as long as you use items that don’t necessarily need water, this way would work fine.
Glass Paint Pros: Although it wasn’t quite what I was going for, the clear jar with blue outlines around the detailing actually looks pretty neat.
Glass Paint Cons: This method didn’t really work at all the way I thought it would and my whole kitchen smelled like paint thinner for at least a day. Ick. I wouldn’t be opposed to trying again with Vitrea though.
After wrapping up most of the project, I decided to do one more Modge Podge jar with more food coloring to see if I could get it darker. This time I used maybe 10 drops of blue and 4 or 5 green. I LOVE the way it came out. See the difference?

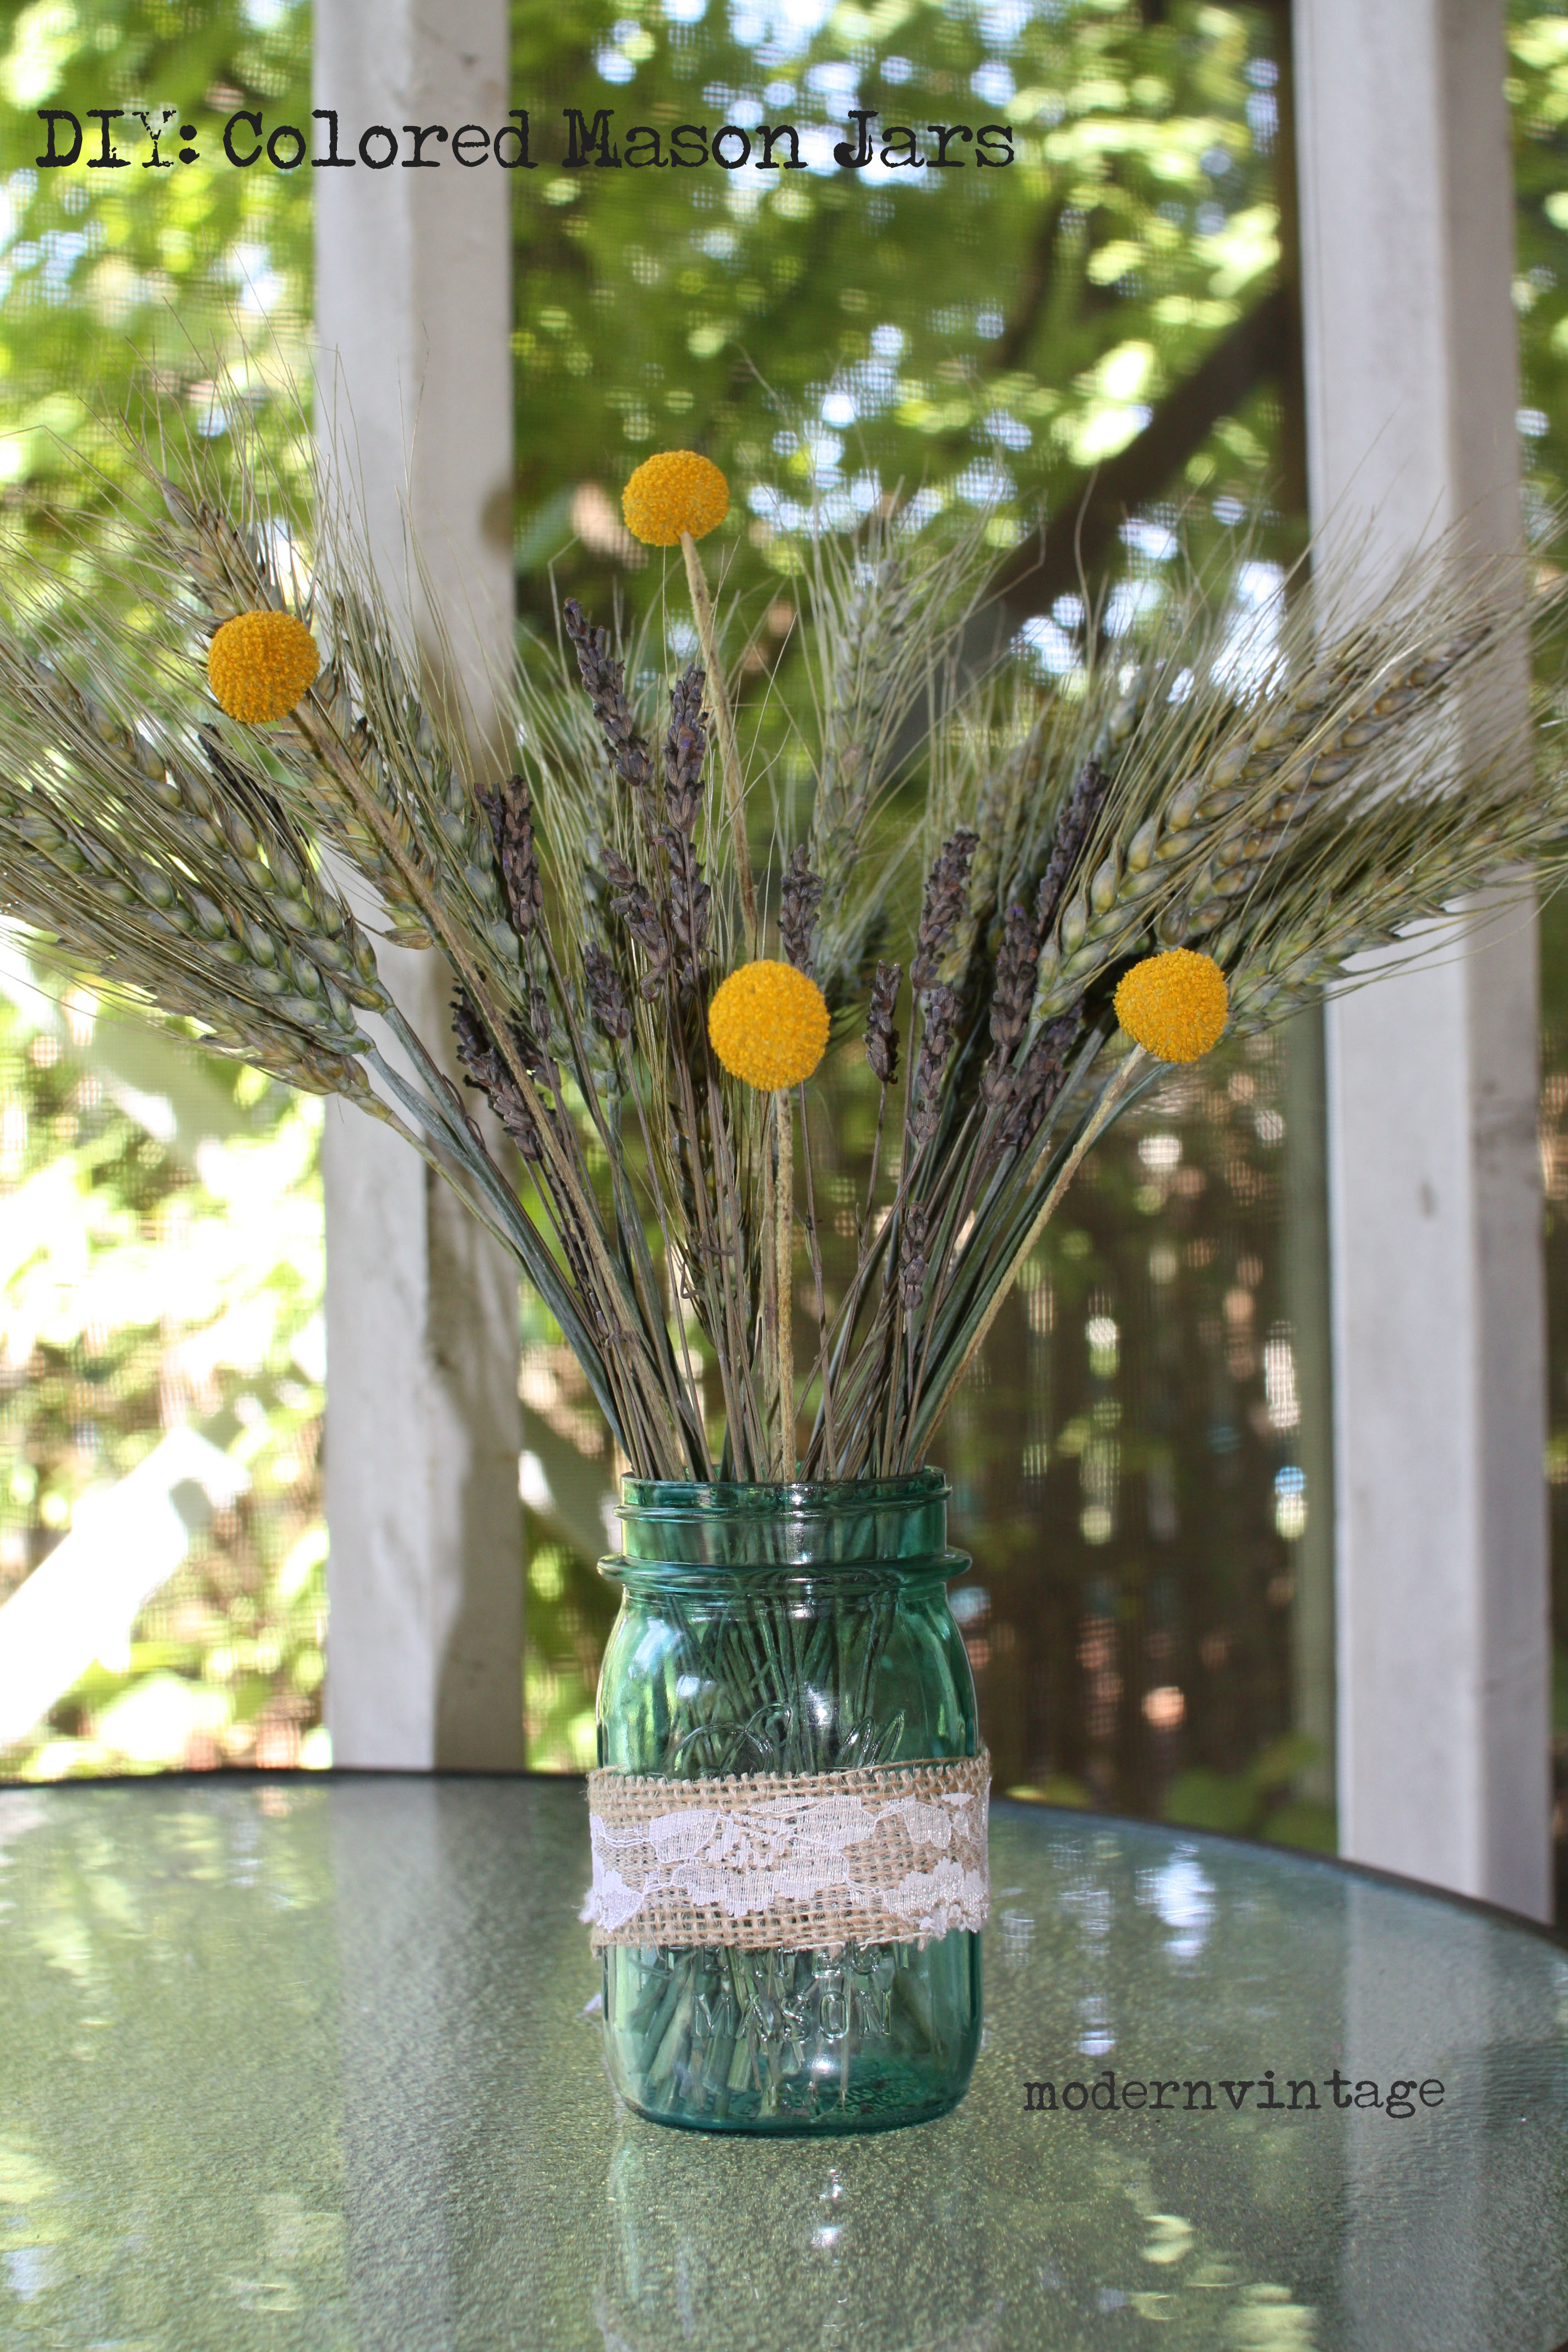
I’d definitely say Modge Podge was the winner here. These would be perfect for using elements that don’t really require water, such as wheat and lavender or succulents. They’d also be great for bouquets of paper or fabric flowers. I gathered up some wheat, lavender and my old friend Mr. Billy Button (aka: craspedia) and gave my jar a new home on my mantle.

What do you think?


")


")


How did you get the crusty parts off the top of the mason jar? Do you advise baking or not? Thanks for your help!
Hi Jennifer!
While the mason jars were drying, I tried to pick them up every so often, wipe the edge of the rim down and then put them back down in another dry place (since there would be a puddle of modge podge under the original location). If you have a wire rack that you could set them on with something underneath that the modge podge could drip onto, that would be even better and you could probably just leave them in one place to dry. As for the rings around the top of the mason jar, the modge podge does tend to get a little thick there, but once it dries completely, this will just translate to deeper color in these areas, which I think looks really pretty. Hope that helps. Good luck!
Hi Jessie,
I’m really glad I came across your blog. My daughter is getting married in June and I want to dye some mason jars for the table flowers. I want to try it the way you suggest, the other blog I went to made it seam like it was so easy to do.
I’ll let you know how it goes.
thanks,
Barbara
Thanks, Barbara! Definitely let us know how it goes – we’d love to see photos even! Congrats to your daughter and happy crafting!
T wonder how the Modge Podge would work with doing it on the outside of the jar? Could it then be sealed with a spray on sealer? I love these jars and would like to make some, but I want to use them for holding fresh flowers.
Hi Judi!
I’ve wondered the same thing, but I haven’t had a chance to try it. We would love to hear how it goes if you try it out!
This is so beautiful! Unfortunately, the only type of Mod Podge that I have is the Matt Mod Podge. Does that work??? Thanks
Hi and thank you! I used the gloss modge podge for this project, but I think matte would probably work equally as well. Since it dries clear, I don’t think it’d be a problem, though it might just have slightly less of a shine. We’d love to hear how it turns out!
Hi! I tried the matte mod podge. It does not turn out shiny and clear like yours. I experimented with my jars and I mixed acrylic paint with matte mod podge. It looks just like any other jar that has been painted on the inside. I didn’t have any food coloring either so I am going to have to buy those things next time I go to the store! Thanks for the reply!
Thanks for the feedback and good luck!
Hi- just wanted to add what I have learned with experimenting with this method. First of all, I also could not get my fancy glass paint to look nice- it was streaky and awful…so I threw my dollar store glasses in the sink with really hot water and peeled off the glass paint the day after I painted them. Then I tried again not with Mod Podge, but with plain old dollar store white glue and gel food coloring. It self levelled beautifully and dried shiny and clear. No streaks. So you can save the money (Mod podge is expensive!). I did it on the outside so we can drink from them, except for around the rim where your mouth will go.
Thanks so much for sharing! It’s great to know there are other ways to accomplish this!
Hi just wondering how you applied it to the outside of the mason jar? I tried earlier with a foam brush, they came out pretty but the brush left streaks. Trying to make these in fall colors for my sisters wedding to use as a favor a for everyone one to fill up with candies.
Beautiful modge podge jars. I definitely will try them. I was wondering how long do you bake them and at what temperature.
Hello! On the first round, I baked the jars for about 30 minutes at 325 degrees. However, the color baked right out of most of the jars. The second time I did it, I chose to skip the baking altogether. If you choose to bake them, you may want to try it at a lower temperature for a shorter amount of time.
Thanks!
I read on another blog that they baked them at 200° for 20 minutes. If they still have some streaks to go for as long as 40 minutes. But I guess low and slow is the preferred method. They did the mod podge on the inside. I’m going to attempt this with matte as well as I don’t have any gloss.