

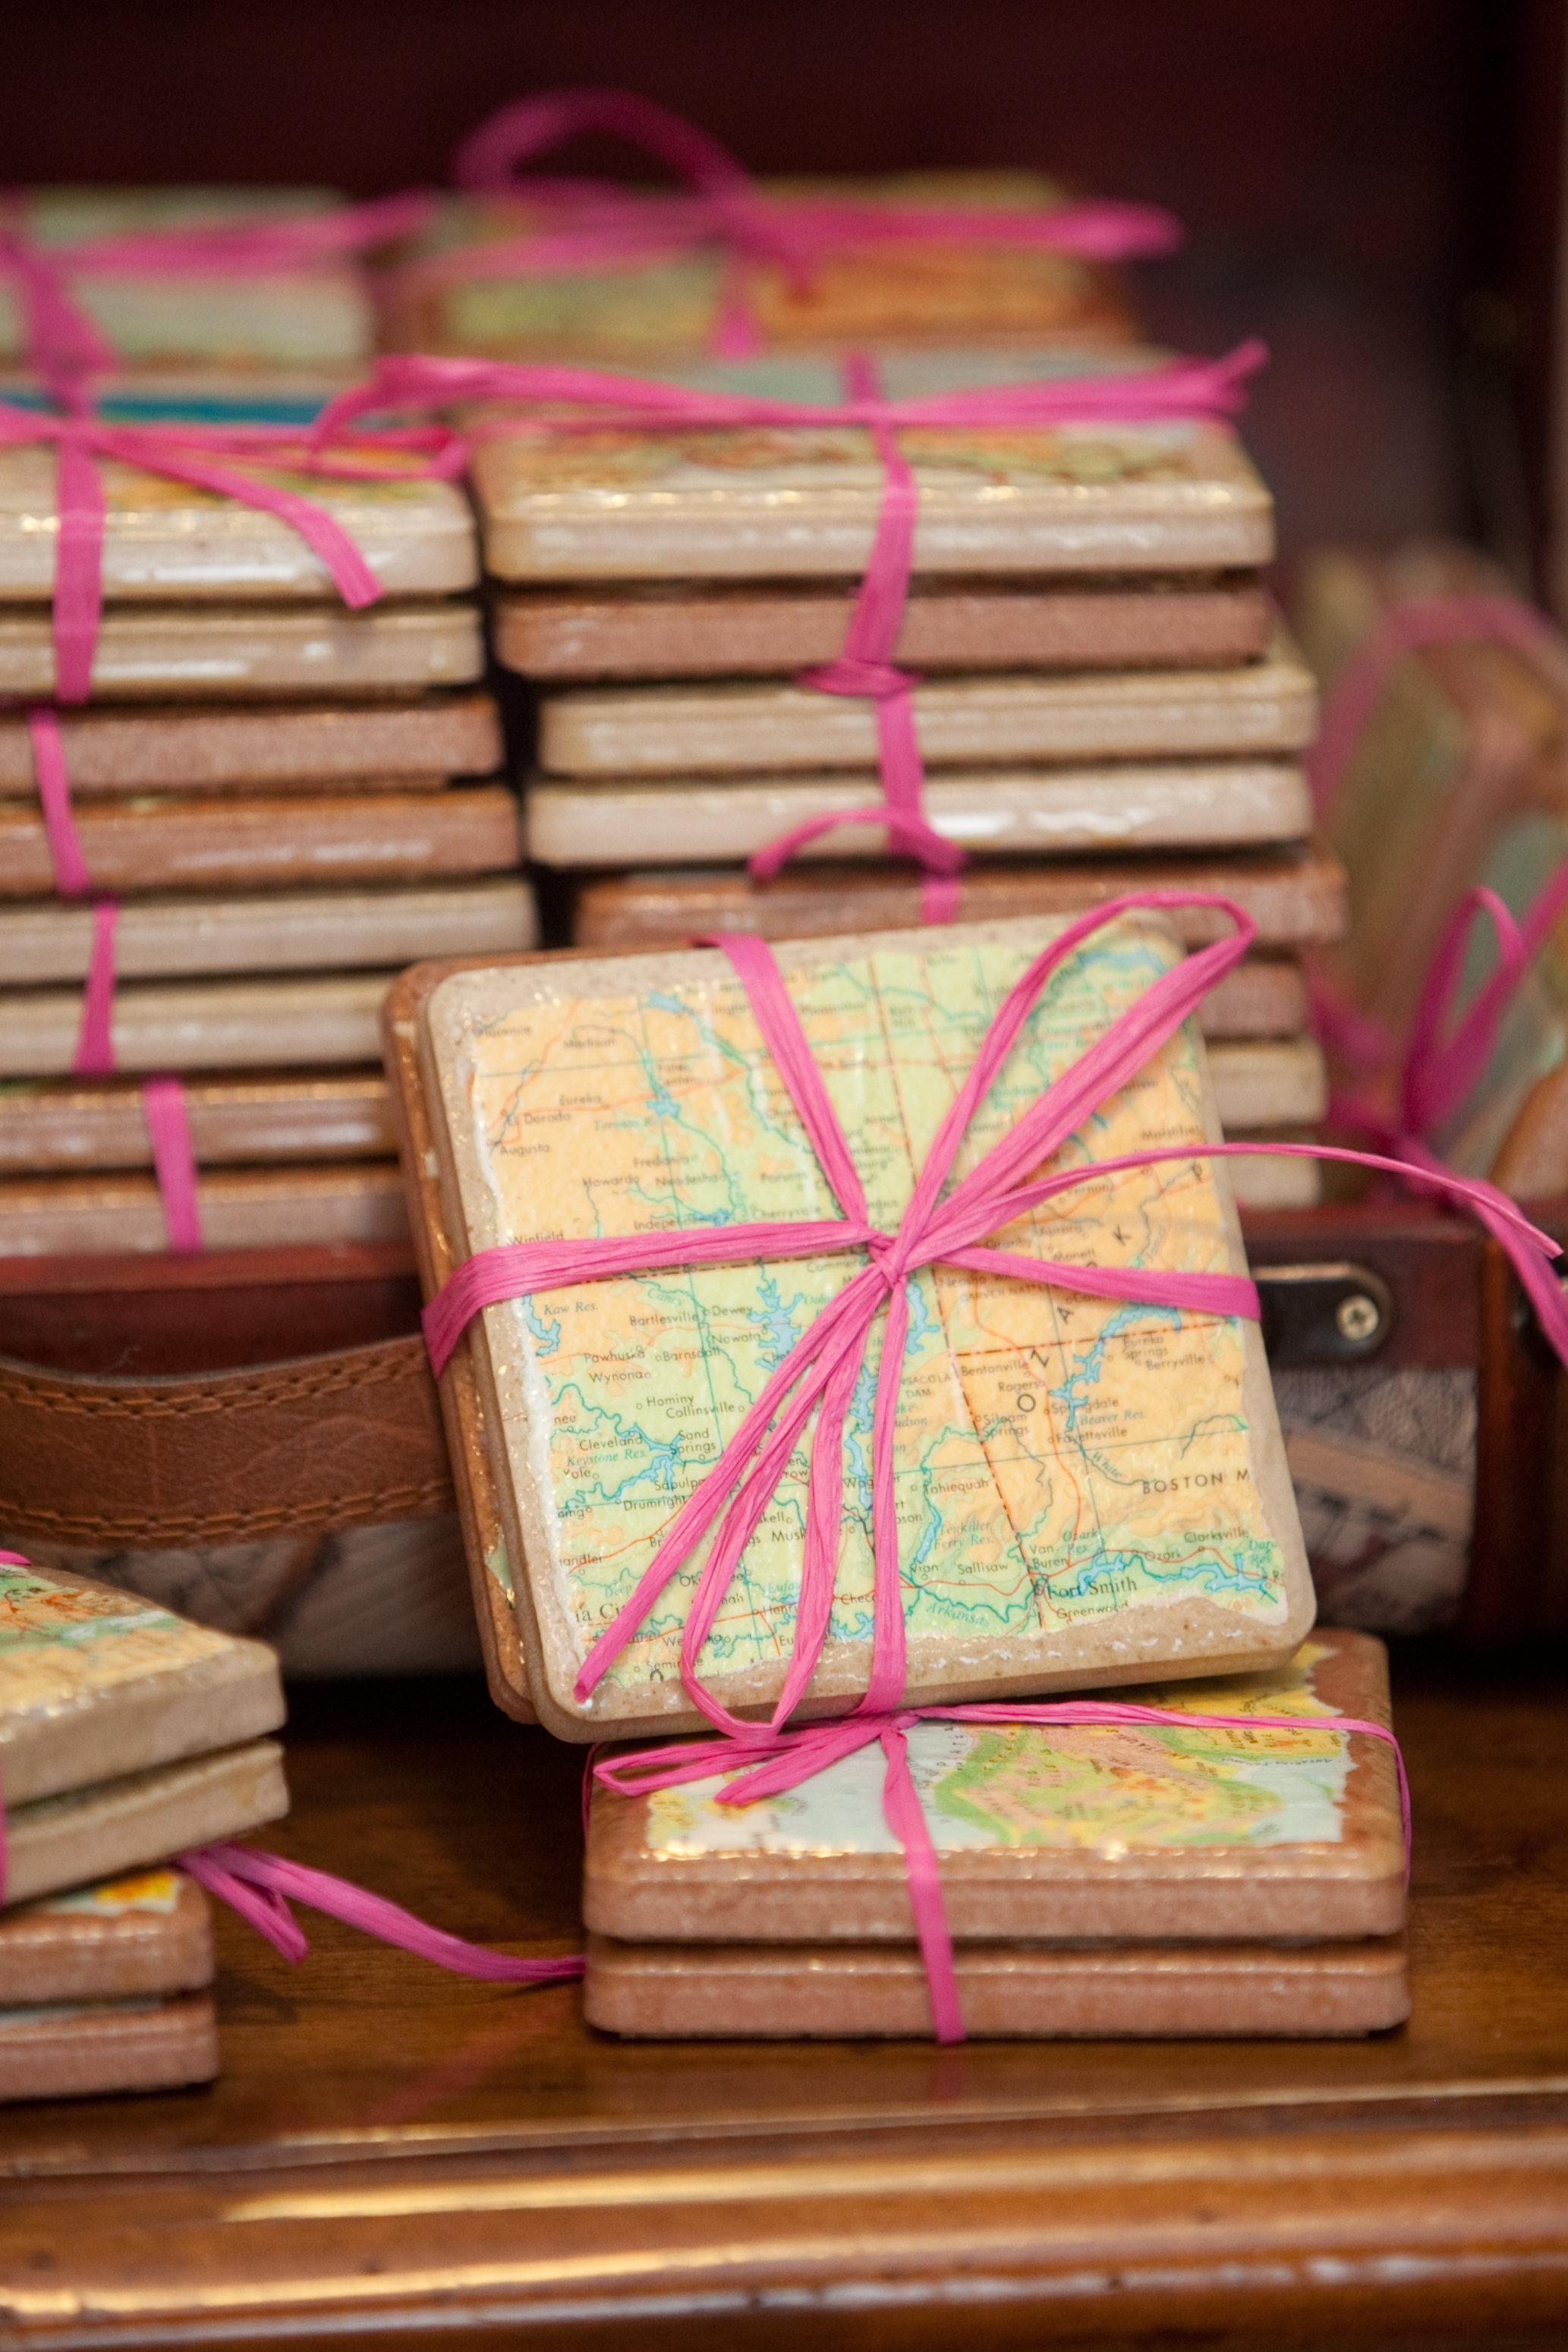
When I was planning my wedding, there were so many DIY elements that I wanted to include and I knew that there was simply not enough time to do them. In the end, I had to decide on a few choice things – favors being one of them. I wanted our favors to be something cool and handmade that I felt tied into the feeling of the wedding while still be something useful that our guests could (and actually might want to) keep. So I finally settled on these handmade coasters, made from square tiles. My hubby and I have traveled quite a bit together, so we wanted to reflect that in our wedding design. Here’s what we came up with.

Photo by Chris & Adrienne Scott, Photographers
Together, Stefan and I busted out 250 of these puppies before our wedding, then hand tied them all in sets of two. Whew. But, they’re fun to make and we loved the end result. And almost three years later, many of our friends and family members are still using them. And the best part is that they’re super easy to make, so here’s a quick tutorial of the process for your crafting pleasure.
You will need:
- 4×4 square tiles (you can find these at Lowe’s or Home Depot)
- Modge Podge
- Something to spread the Modge Podge with (I use a mini roller)
- Scrapbook paper, magazine pages, old maps or whatever design suits your fancy
- Polyurethane
- Rolled cork with adhesive backing

I chose tiles in a tan color and I personally like the ones with the rounded edges, although that is up to individual preference. To start, rip your paper into a square that almost, but not completely covers the top of the tile. To save time, you can cut the paper, but I like the way the ripped paper gives them all a little character and makes each one a little different. Pour some Modge Podge into your tray and line up your tiles.

Next, give your tiles a good roll of Modge Podge, then lay down the paper over the top, smoothing it out flat. Do this for all the tiles, then get your roller all nice and full of more Modge Podge and coat over the paper on the tiles, making sure you get all of the sides as well.
 They’ll look something like this.

Then, just give them some time to dry. Modge Podge dries pretty quickly, so they should be ready for another coat in under an hour. While they’re drying, smooth out any bubbles that may form with your finger, then put another thin coat over the top. When the hubby and I were doing these in mass quantity for a wedding, we’d stand over them with a hair dryer which will get it done in a matter of minutes. I like to give them three coats, but you can probably get away with just two.
After the last coat of Modge Podge has completely dried, you will want to seal your coasters so that they will not get all sticky and goopy when hit with liquid. Modge Podge is water based, so if you do not seal them, even just the condensation from your glass can cause a mess. I use a sponge brush and give them two coats of a semi-gloss polyurethane. Let each coat dry for at least 3-4 hours to set. I let the second set overnight before handling the tiles.

The last step is to pad the bottom of the tiles so that they will not scratch your table or counter. I use rolled cork with adhesive backing that you can get at any craft store. Just trace a tile onto the back, then cut inside your lines to make it just slightly smaller than the bottom of the tile. Then, simply peel off the backing and stick the cork to the bottom of the tile.

Oila! You have handmade coasters! Arent’ these just so fun!

Here’s one in action.

Sometimes I get a little craft happy and like to make big batches at a time.

Did you make homemade favors? What kind did you make?


")


")


I love these and still use mine on a daily basis. Since you did maps, it was fun looking through and picking the locations that meant something to me and my husband.
[…] Handmade tile coasters at Modern Vintage […]
I wanted to ask you a question. I have followed your procedure but am stuck on one area. Every layer of Modge Podge I have applied to the picture is showing streaks when viewed from an angle. Does this iron itself out after a new coat of Modge Podge is applied over the picture? The overall picture is fine, just streaky when looked at from an angle.
Also, I have clear Acrylic sealer rather then the polyurethelene. Is this okay too?
Hello! Are you using a roller or a paintbrush? I’ve found that a roller works a lot better for this project. I try to always roll in the same direction, and when it first dries you may see some slight lines when holding up to the light. However, once I apply a few coats of the sealer, these go away. I have not tried acrylic sealer before, but I think it would probably work fine since it should be water resistant once dry. We’d love to hear how they turn out!
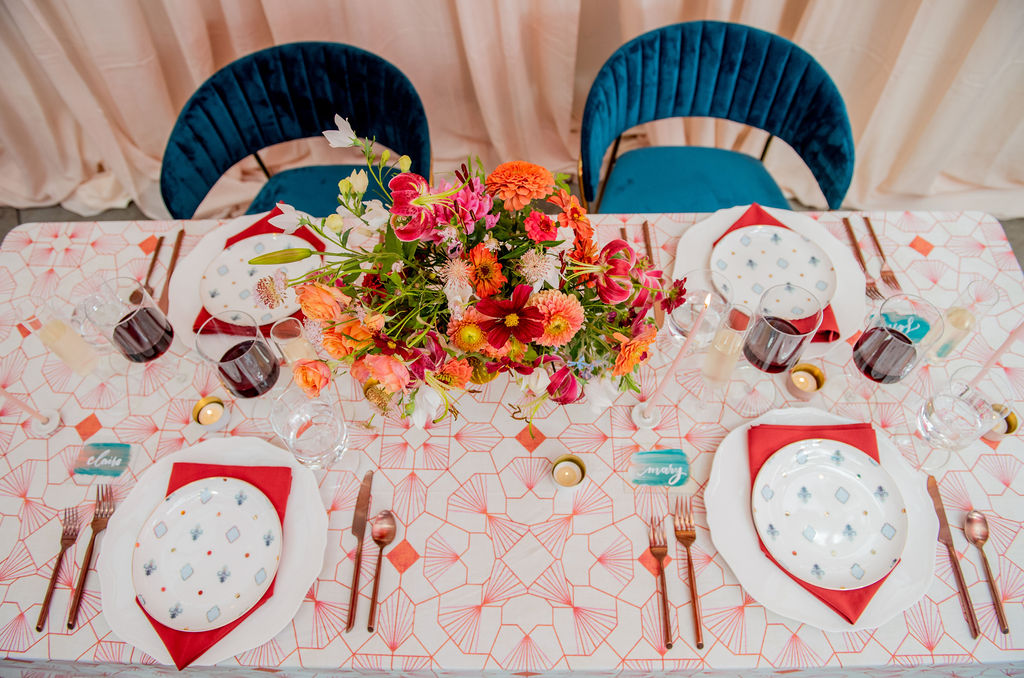
I printed my daughter and future’s son in law’s names on scrapbook papers in wedding colors. (We were doing sea glass colors.) They turned out great! We set the tables with them and then put plastic champagne glasses on them for the wedding toast. I was tickled to see your post and see that someone else had done these for a wedding. 🙂
Thank you so much for commenting. What you did for your daughter sounds beautiful! These are such a great gift for the guests!
do you have care/cleaning instructions for them?
I generally just wipe down the top with a damp, slightly soapy rag. I try not to get the cork part too wet.
[…] another link. She uses polyurethane as a sealer […]
[…] http://modernvintageevents.com/2012/09/diyf-handmade-coasters-by-modern-vintage/ […]
[…] For example, if you are using maps choose places that really mean something. This simple method by gomodernvintage.com uses a variety of different designs, but with this idea you can be as creative as […]
Hello, great coasters! I was wondering whether this method is good for hot drinks as well as cold drinks. I am trying another method using an acrylic gel and the coasters are slightly sticky and don’t work well with hot drinks. This seems to be a common problem so I just wanted to know if your method does the trick.
Thanks for any advice.
Hello and thank you! We have used them with hot drinks several times with minimal sticking, but I wouldn’t say it’s never happened. Would love to hear if you find a better method for this!
Hi Jessie
Can I just ask how much sticking you get. Is it enough to pick up the coaster with the cup of just a slight stickiness? Thanks.
Hello! I love this idea and have started to make my own tile coasters using scrapbook paper. My question is has anyone found a sealer to use that won’t cause stickiness with hot drinks? I bought a box Envirotex and I’m going to try that. I just wanted to check to see if anyone has found a solution to this before I used the Envirotex. Thank you!
I just wanted to say thank you for these awesome directions. I used them to make coasters for my wedding favors using an illustration of me, my husband and my dog that my sister drew for us. People raved about them at the wedding. Thank you!
Thank you for your feedback! So glad they were a hit!
Thank you so much for this great tutorial! Just wondering where you got your maps, we don’t have any lying around, though we could check thrift stores. Do you think printouts on regular printer paper would work, or will we need to use a thicker paper?
Hello! You could to to a teacher supply store and purchase some maps or Amazon!